Your first GUI app with Python and PyQt

Introduction
Many people struggle with learning how to build a GUI app. The most common reason is, they don’t even know where to start. Most tutorials are purely text based, and it’s hard to learn GUI development using text, since GUIs are mainly a visual medium.
We will get around that by building a simple GUI app, and show you how easy it is to get started. Once you understand the basics, it’s easy to add advanced stuff.
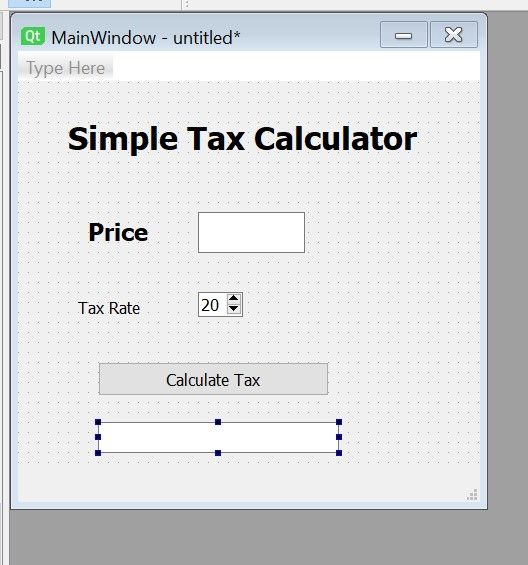
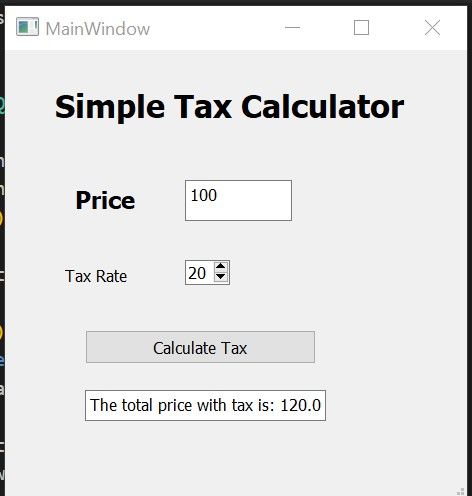
This is what we will be building:

A simple GUI app that takes in a price, a tax rate and calculates the final price.
Most tutorials on GUI apps try to layout the GUI blocks using code, but that is very painful to do. We will be using the superb QT Designer tool to layout our app:
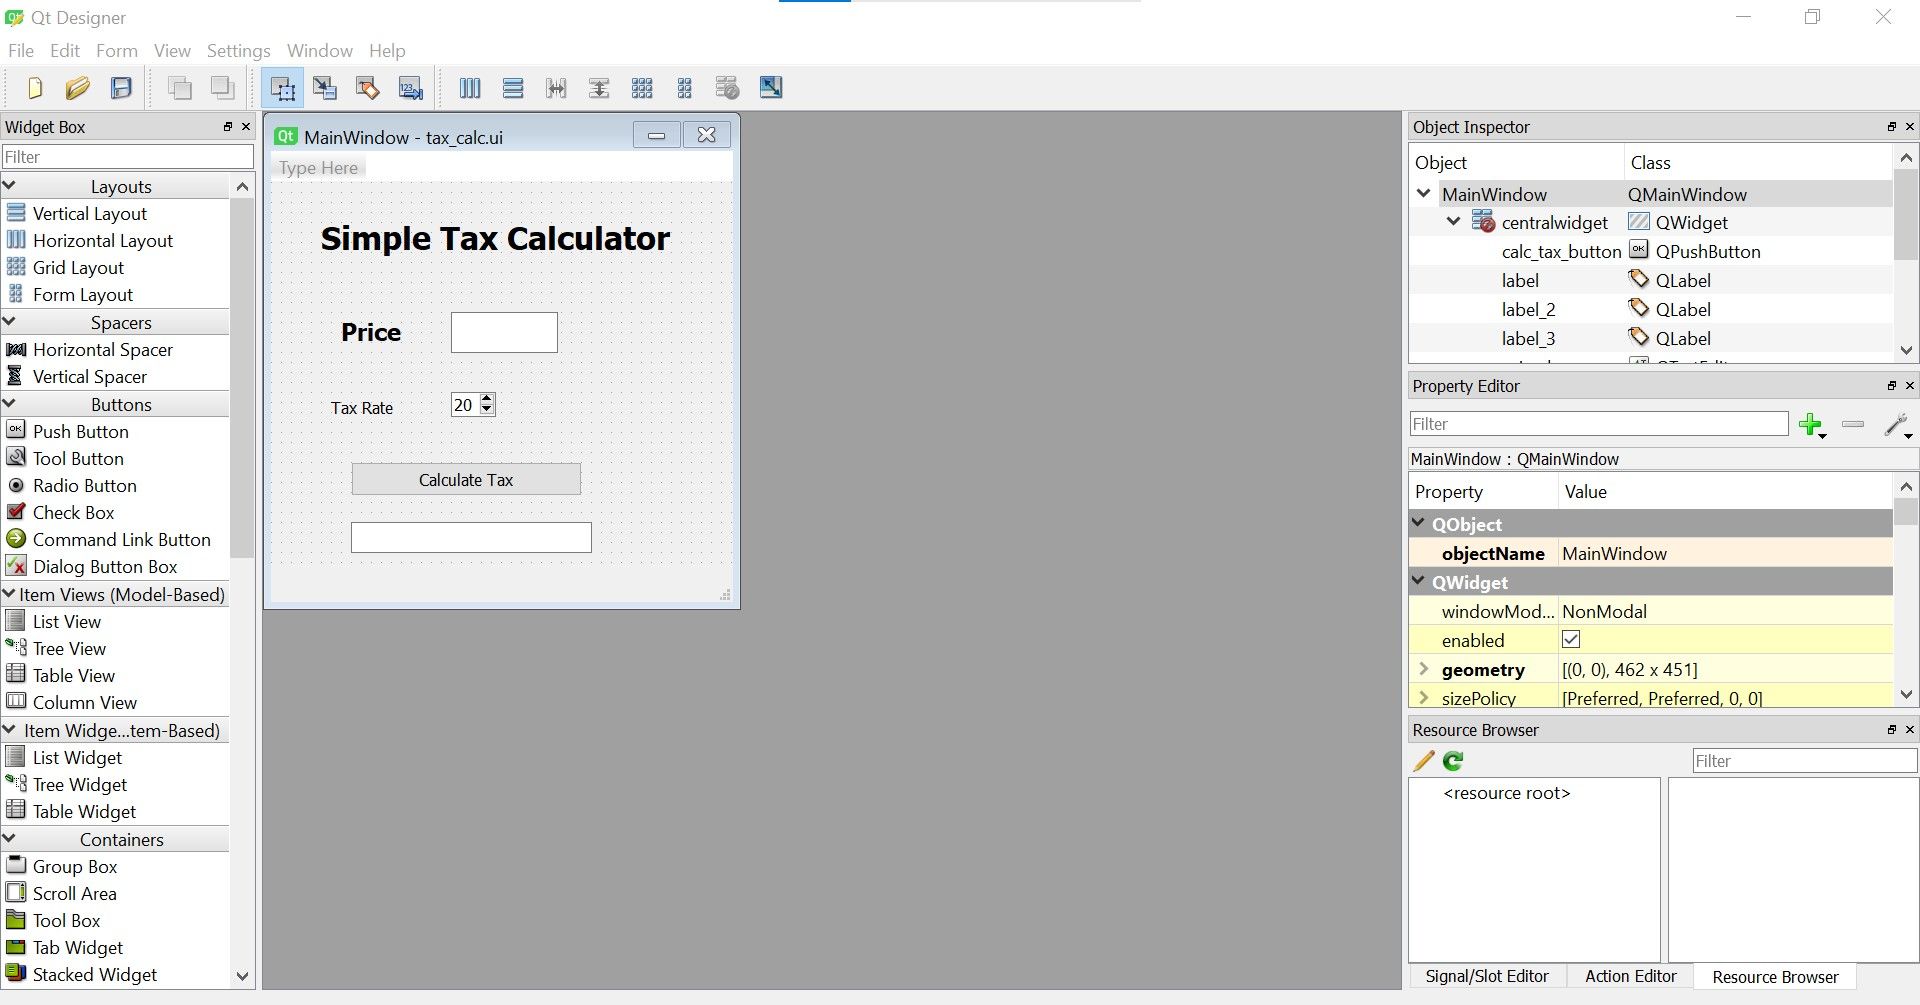
So no struggling laying out the design by hand. Everything will be done graphically.
All the source code is here.
Pre-requisites
The easiest way to start is to download Anaconda, as it comes with Qt designer and PyQT inbuilt (in …\Anaconda3\Library\bin , qtdesigner.exe).
If not, you will need to get it from: https://www.qt.io/download, then install pyqt5 with:
pip install pyqt5
Getting Started
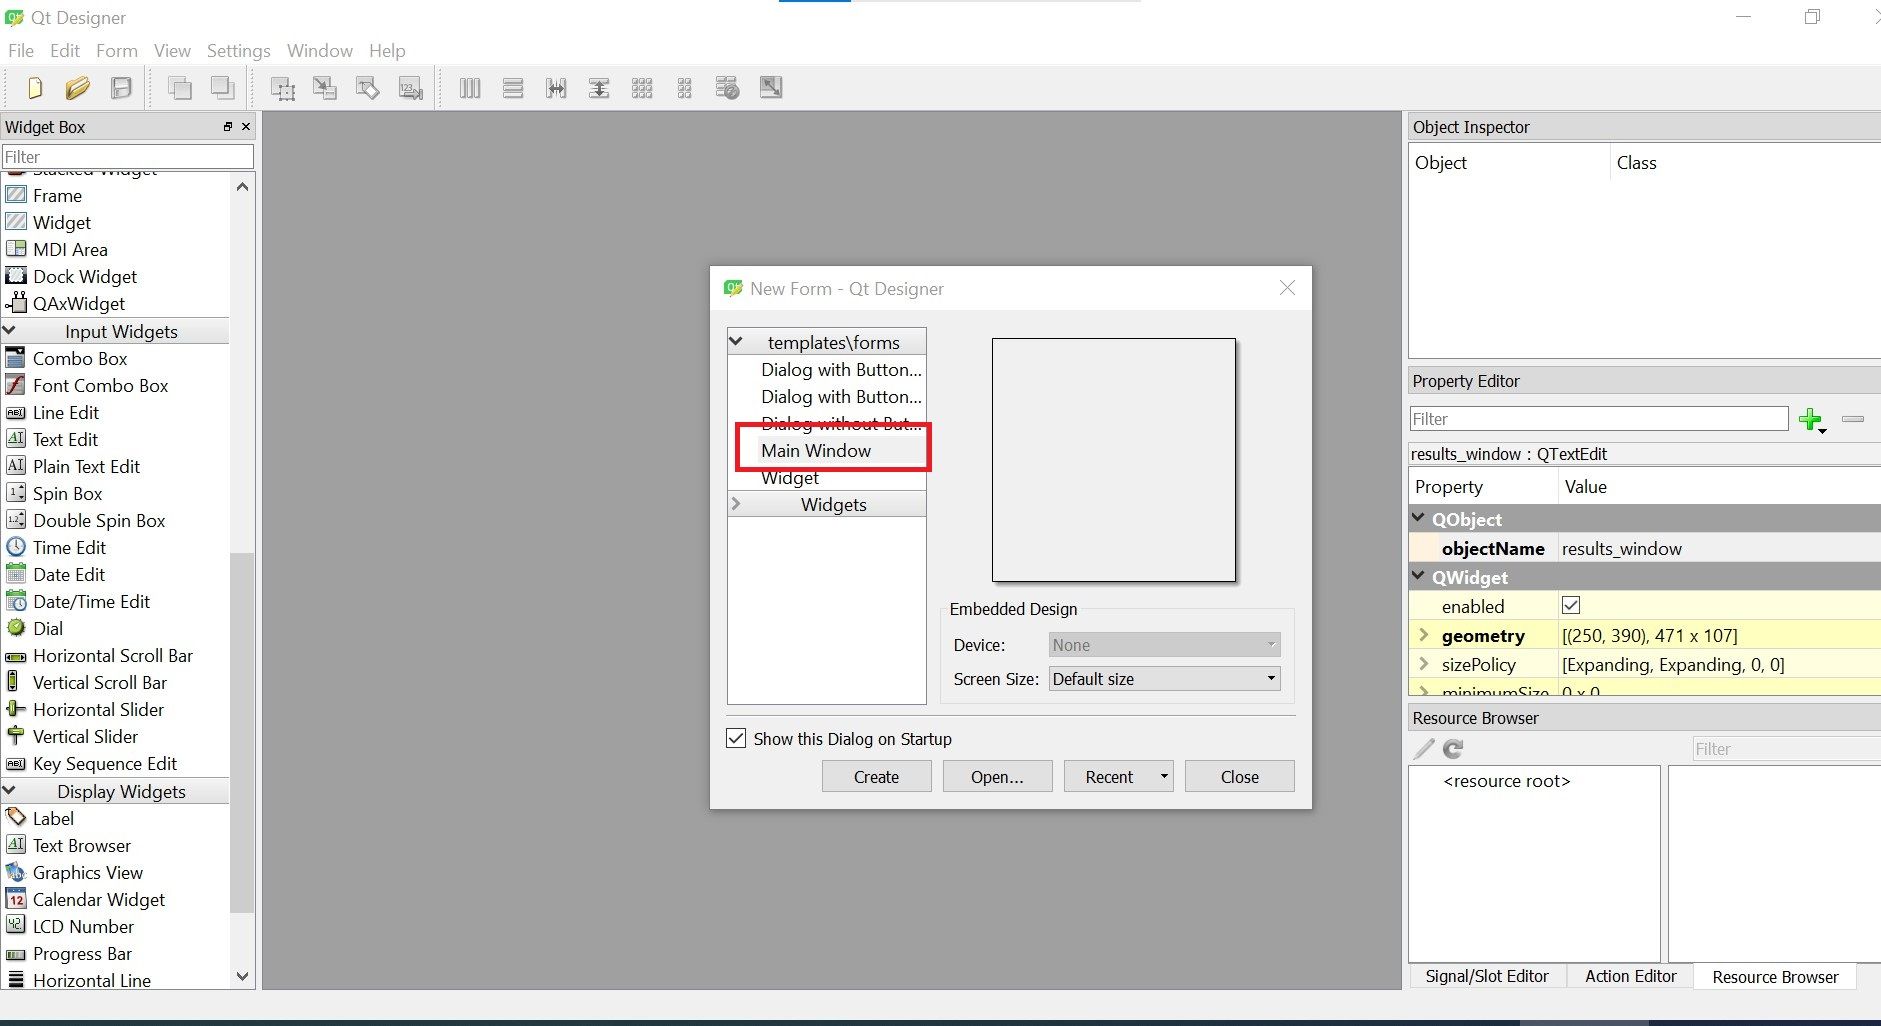
Start QT Designer. In the window that comes up, choose Main Window, as it will give is a blank canvas:
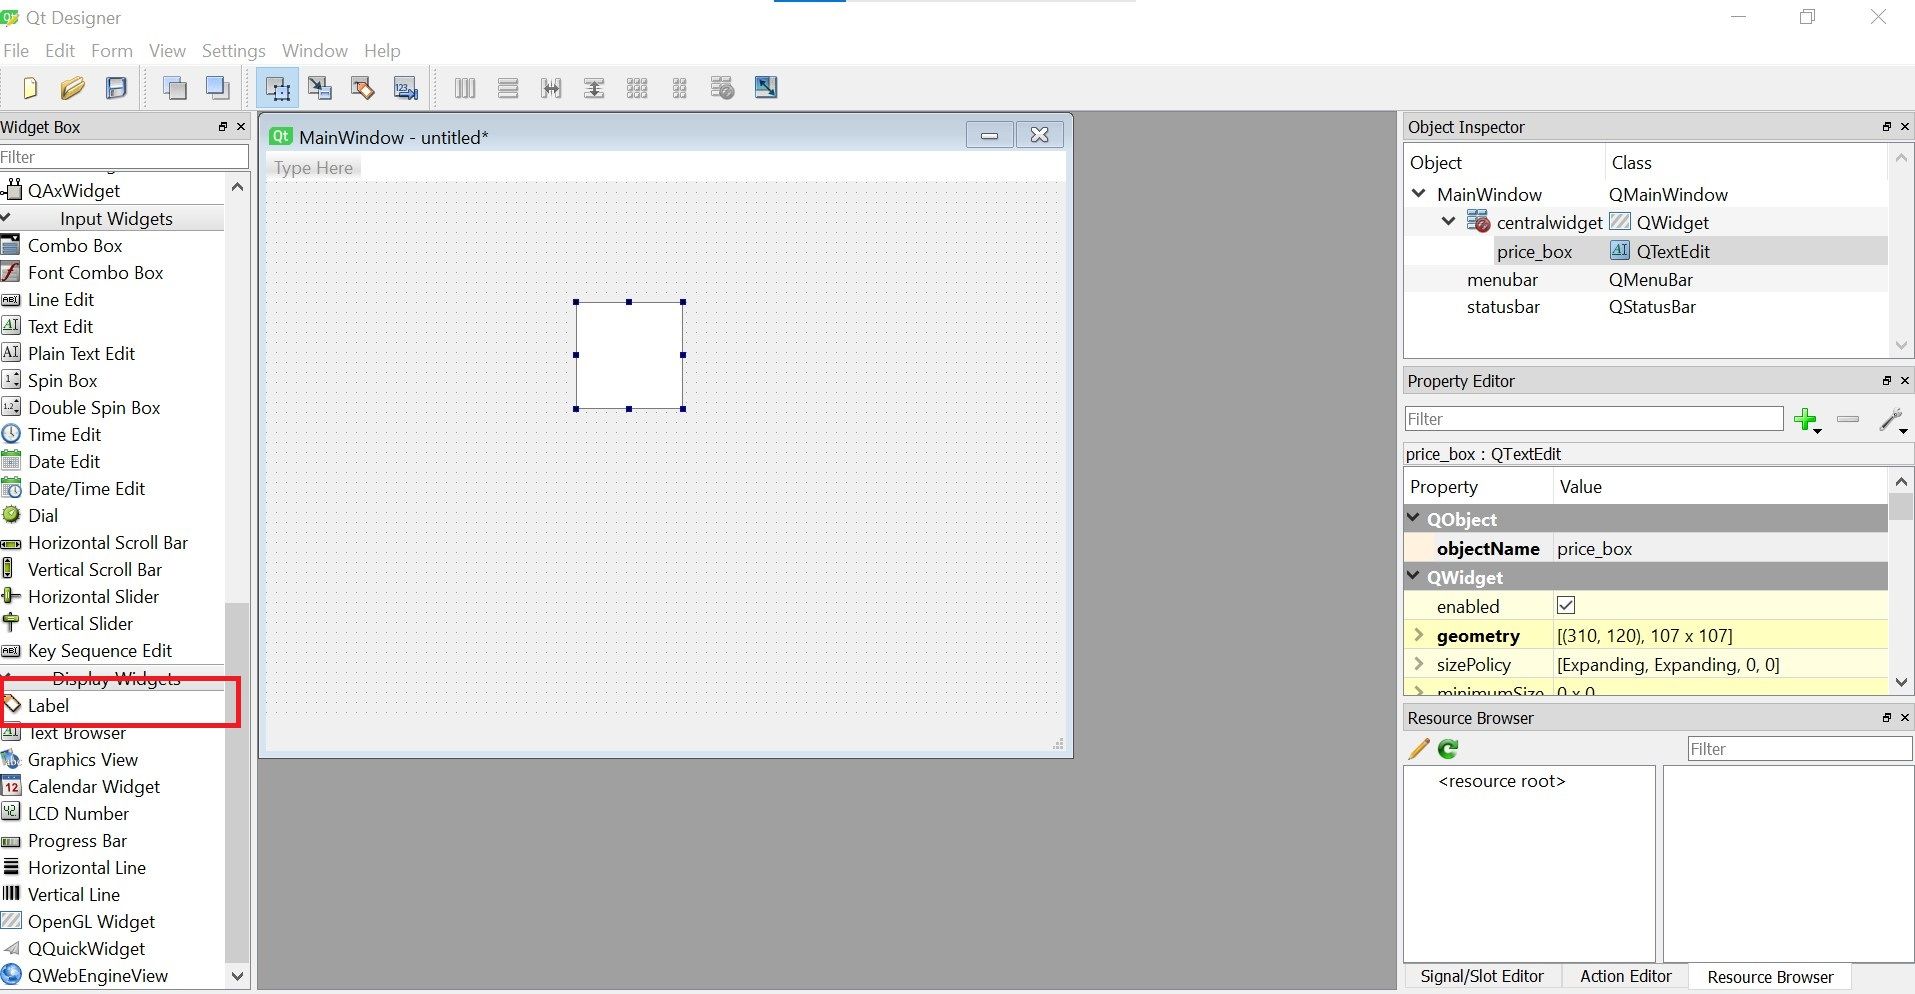
The next thing to do is to select the Text Edit box on the left:
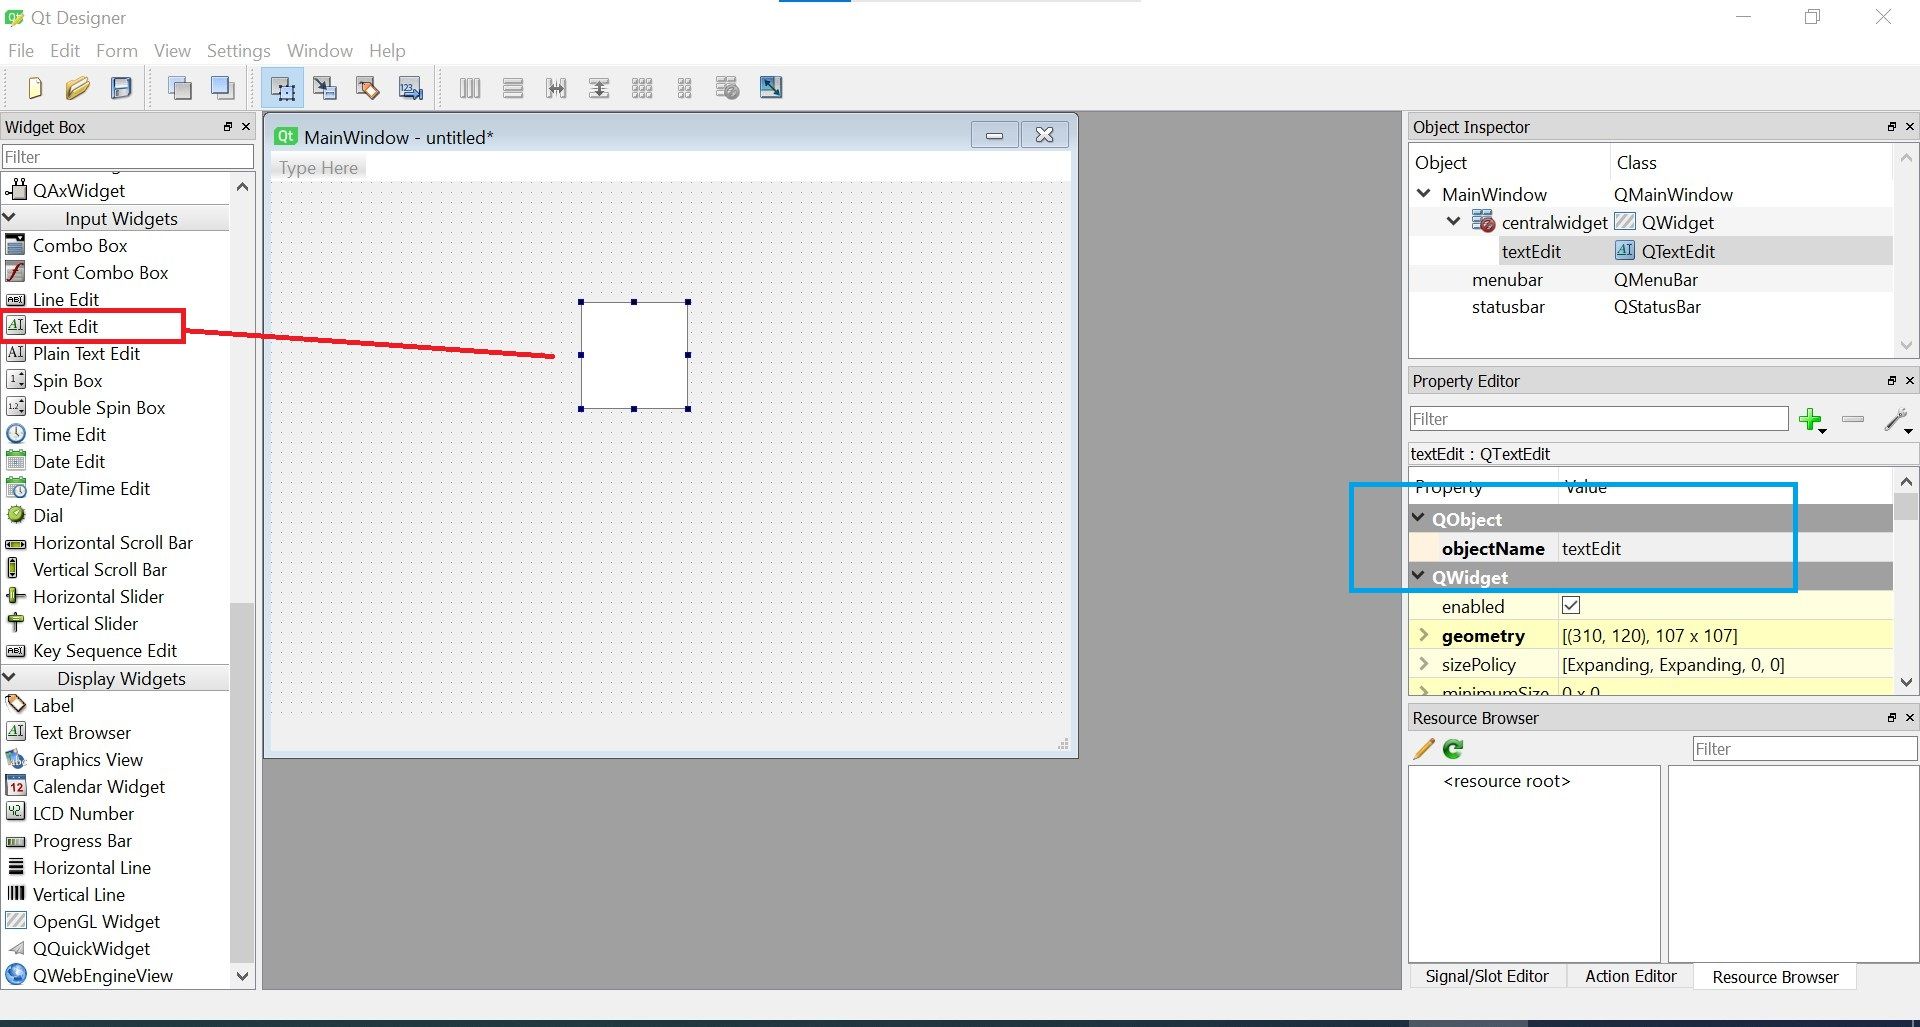
Drag Text Edit to the main window, to get a box like:

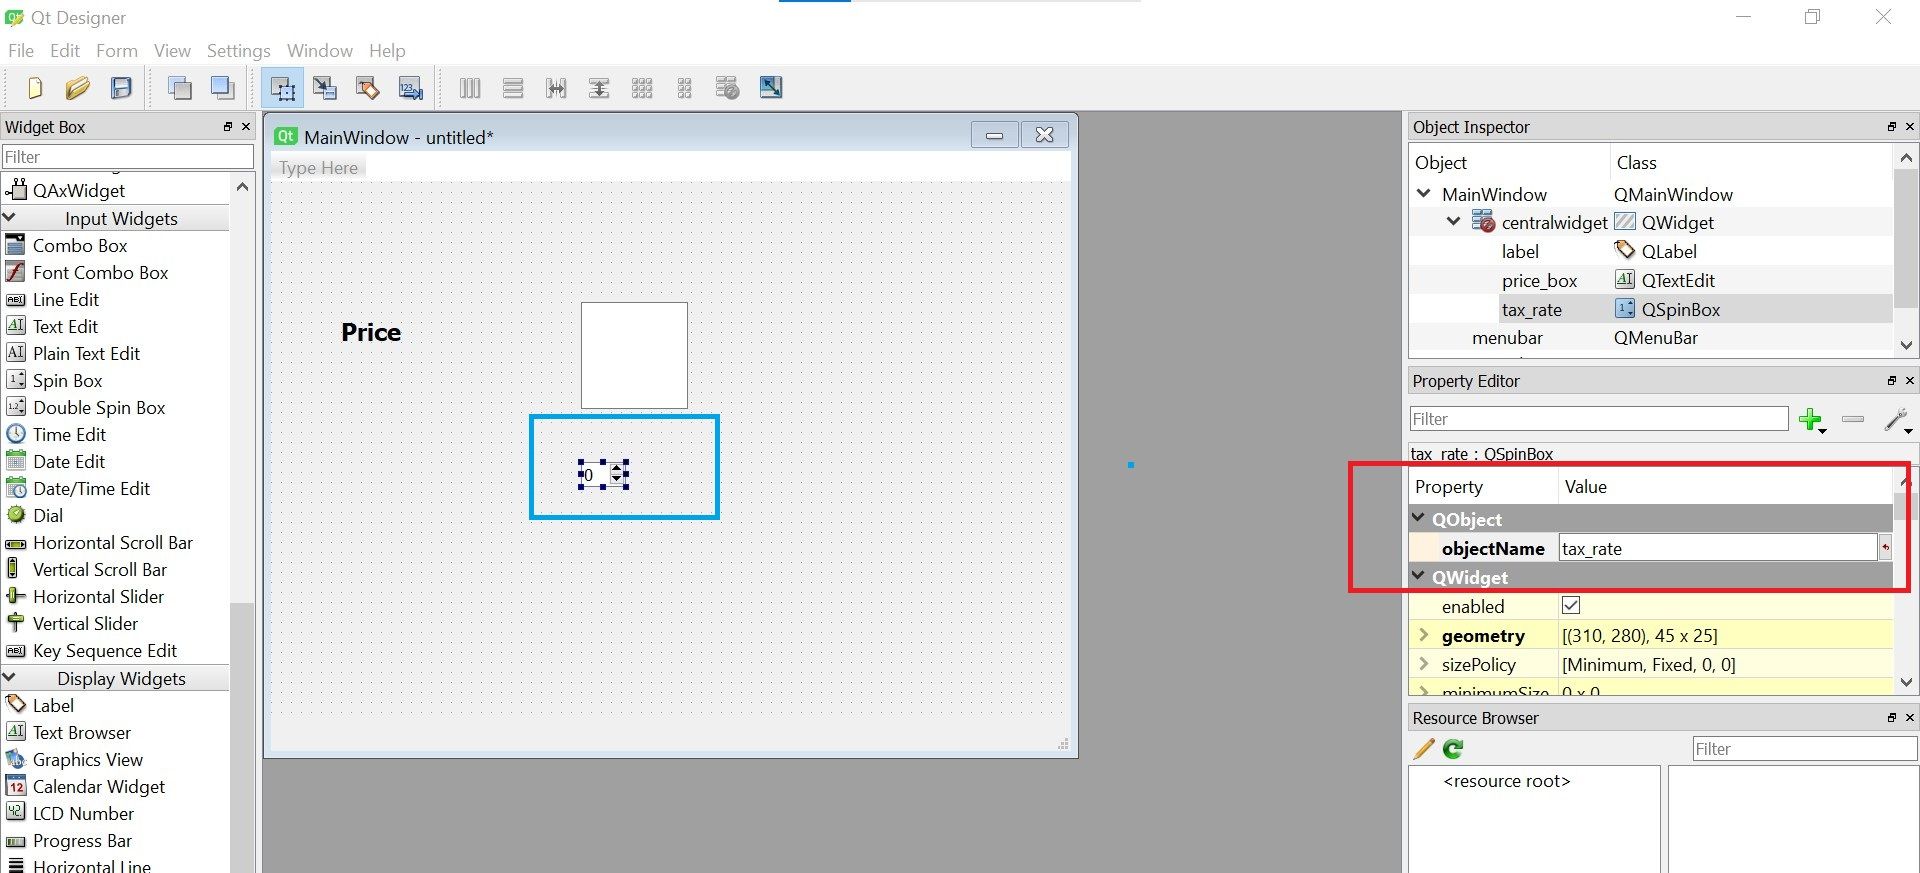
See the right side , where I have red circled a box? That is where the name of the object is. The name is the way this object will be called from our Python code, so call it something sensible.
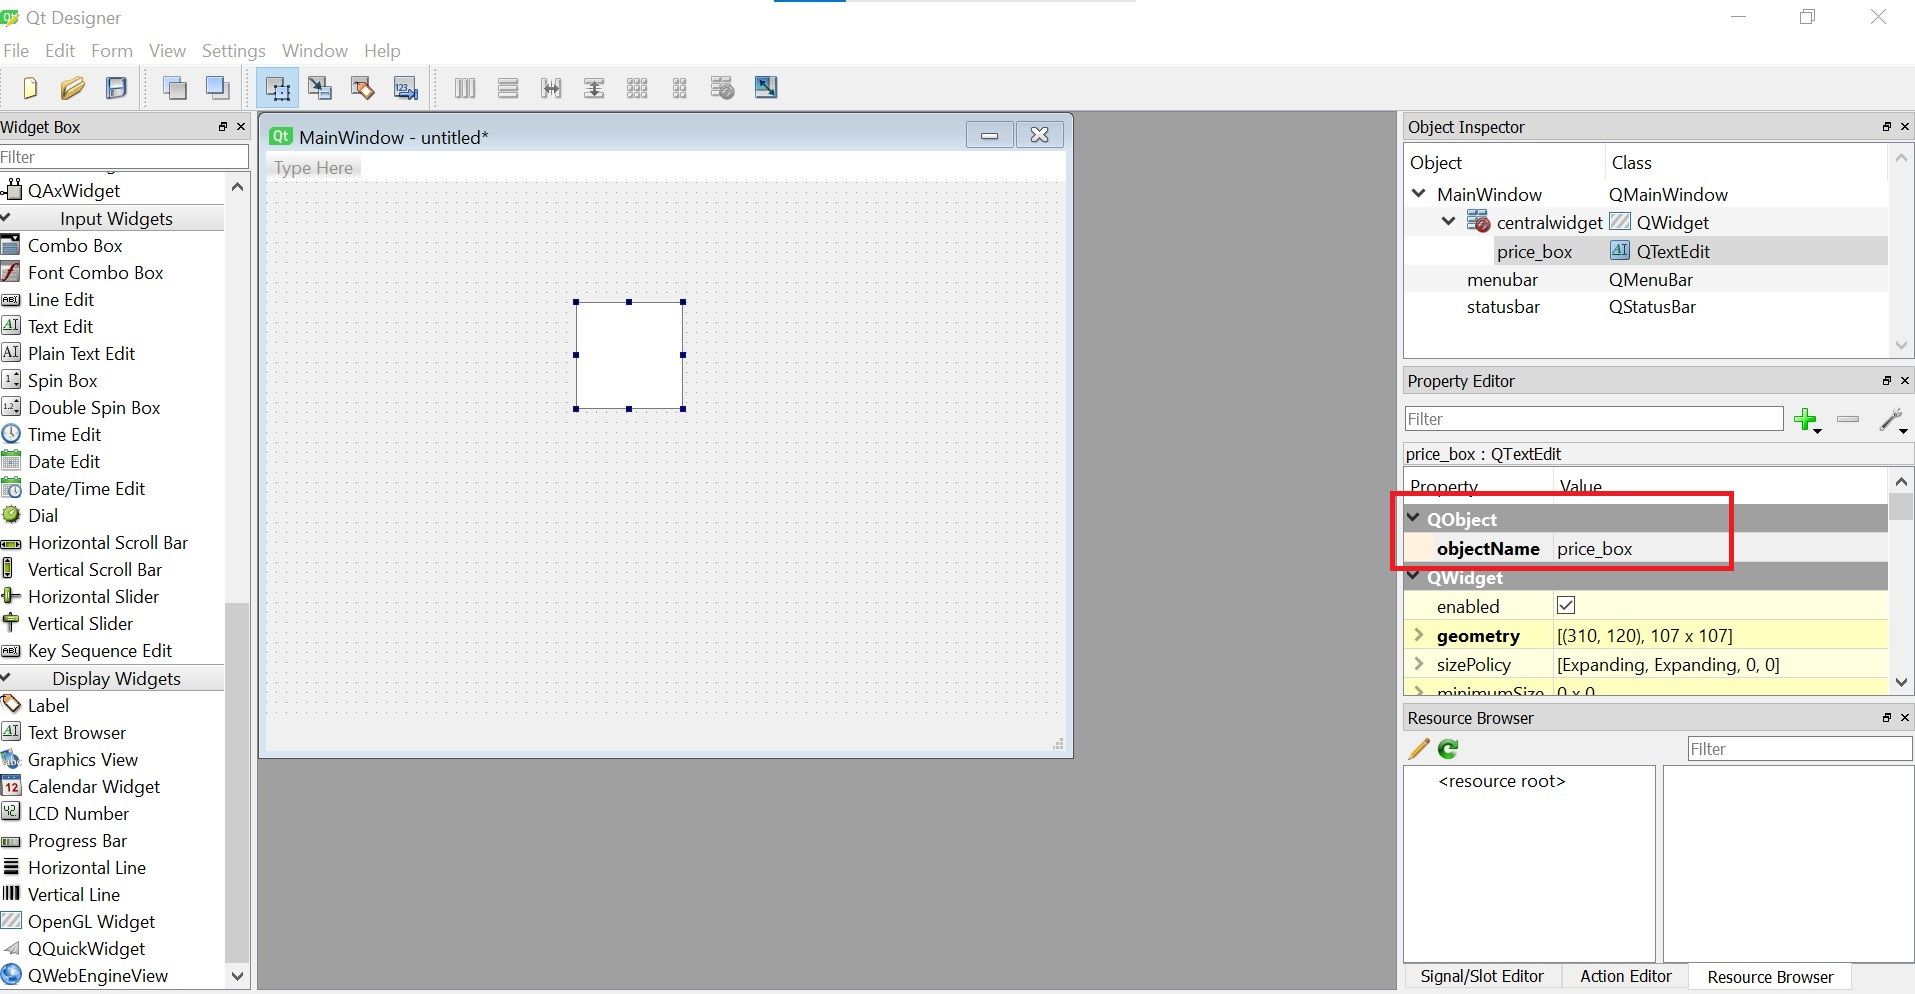
I’m calling it price_box, as we will enter the price into this box. The next thing we will do is attach a label to the box, to make it clear to the user what this box is for.
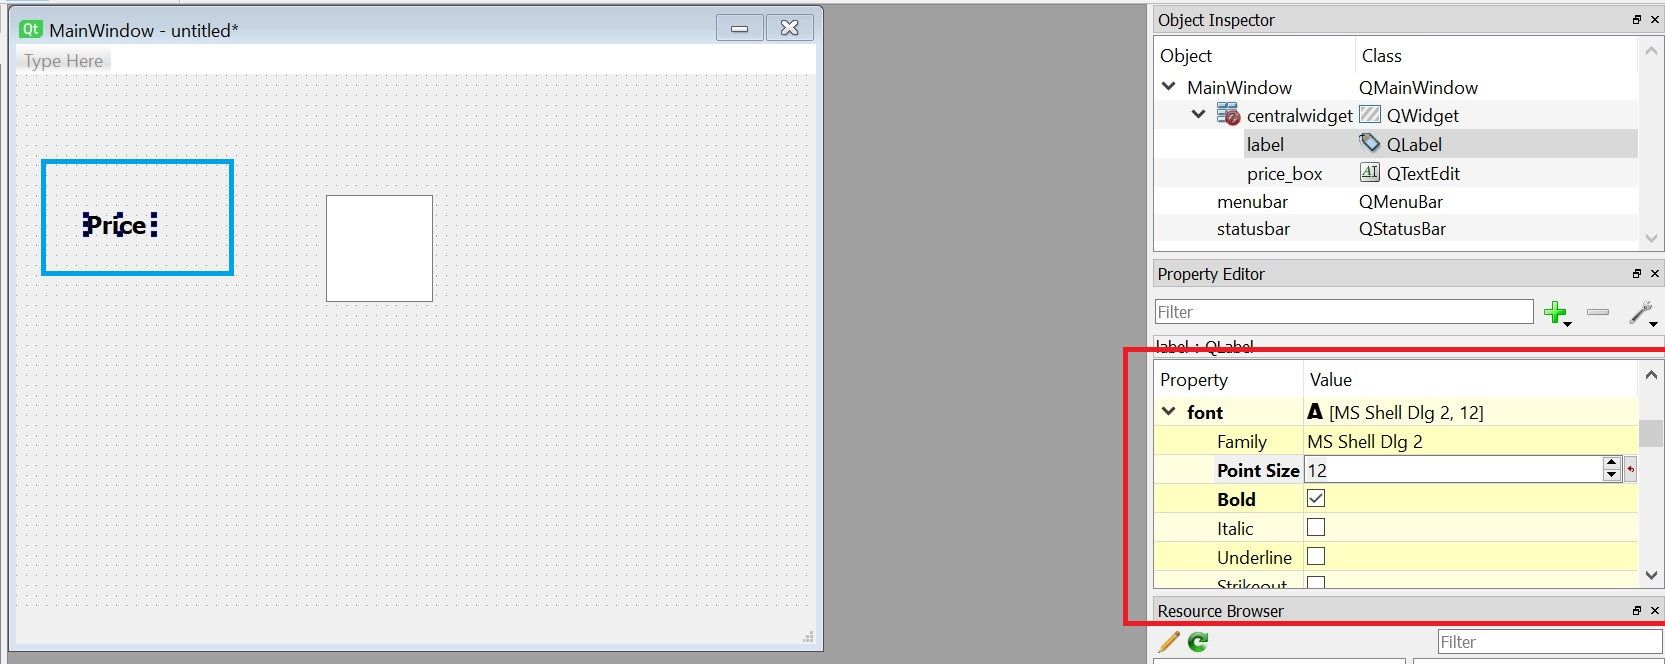
Above, I have circled the label. Drag it across to the main window.
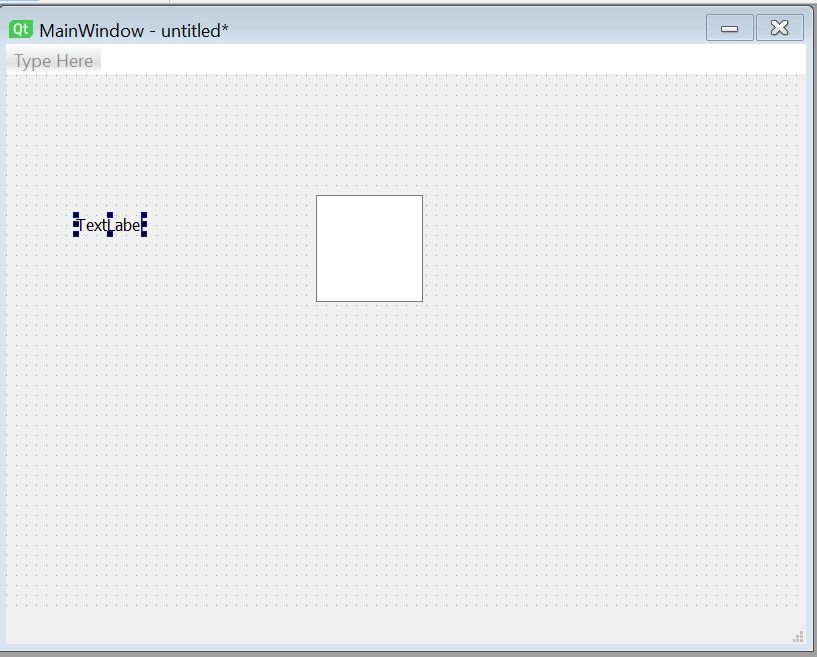
It gets the default text of TextLabel. Double click it and change it to Price. You can also make the text large and bold, as seen here:
For the tax box, we are going to use something different. See the spin box:
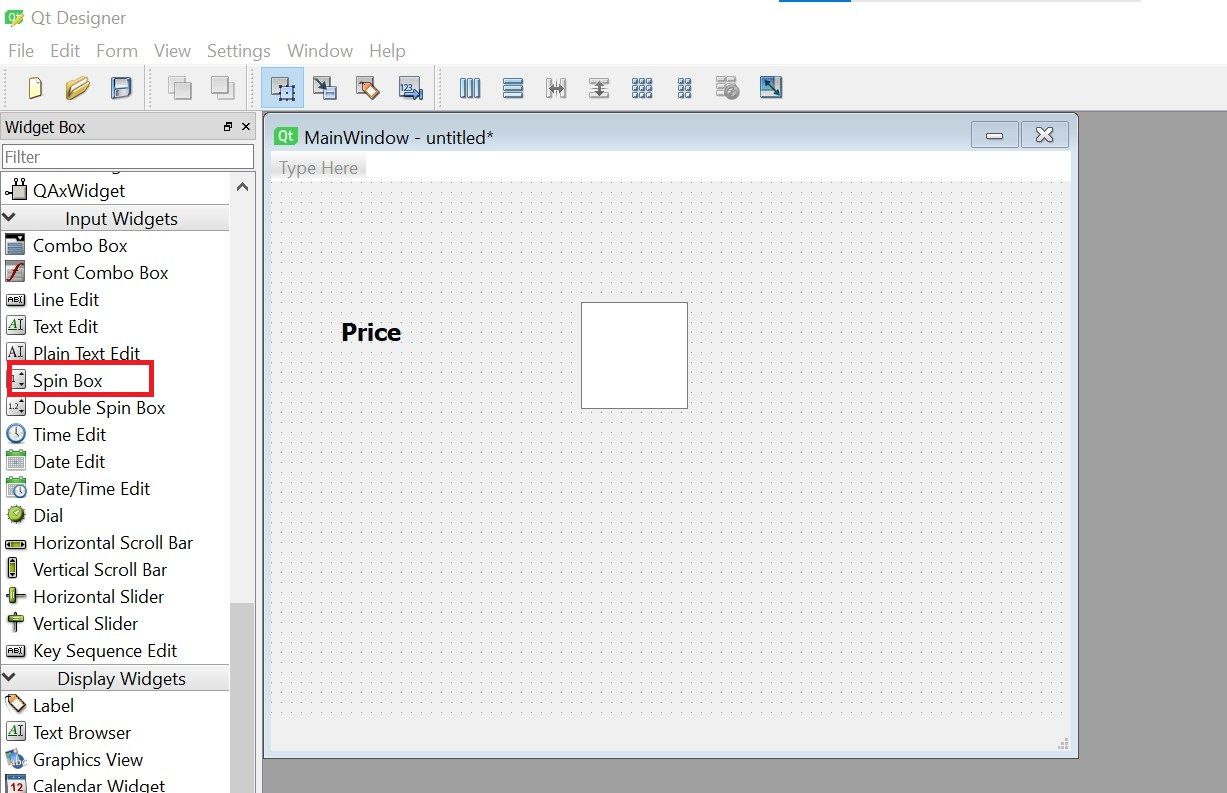
The circle on the left is a spin box. This limits the values you can enter. We don’t need a spinbox, it’s just good to see how you can use different widgets that QT Creator provides. Drag the spin box to the window. The first thing we do is change the objectName to something sensible, tax_rate in our case. Remember, this is how this object will be called from Python.
We can choose a default value for our spinbox. I’m choosing 20:
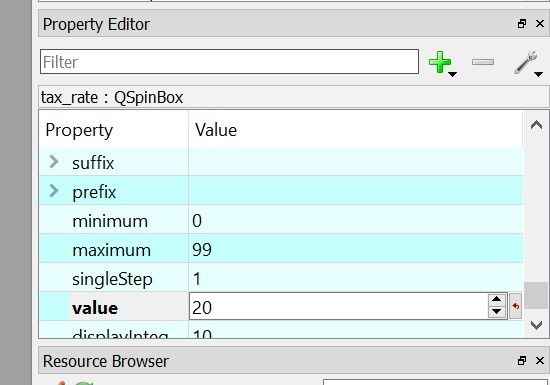
If you look at the image above, you can also set the minimum and maximum limits. We will keep them to what they are.
We will also add another label called Tax Rate, same as we did before. Also look at the circled Push Button we will be using next:
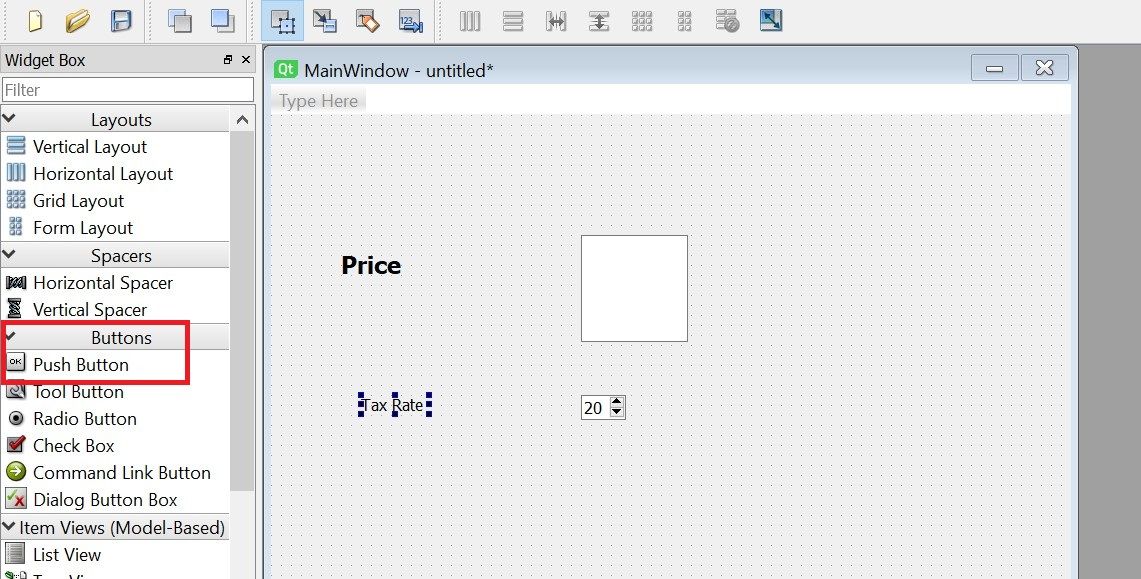
Now, select the Push Button box and drag it to our window.
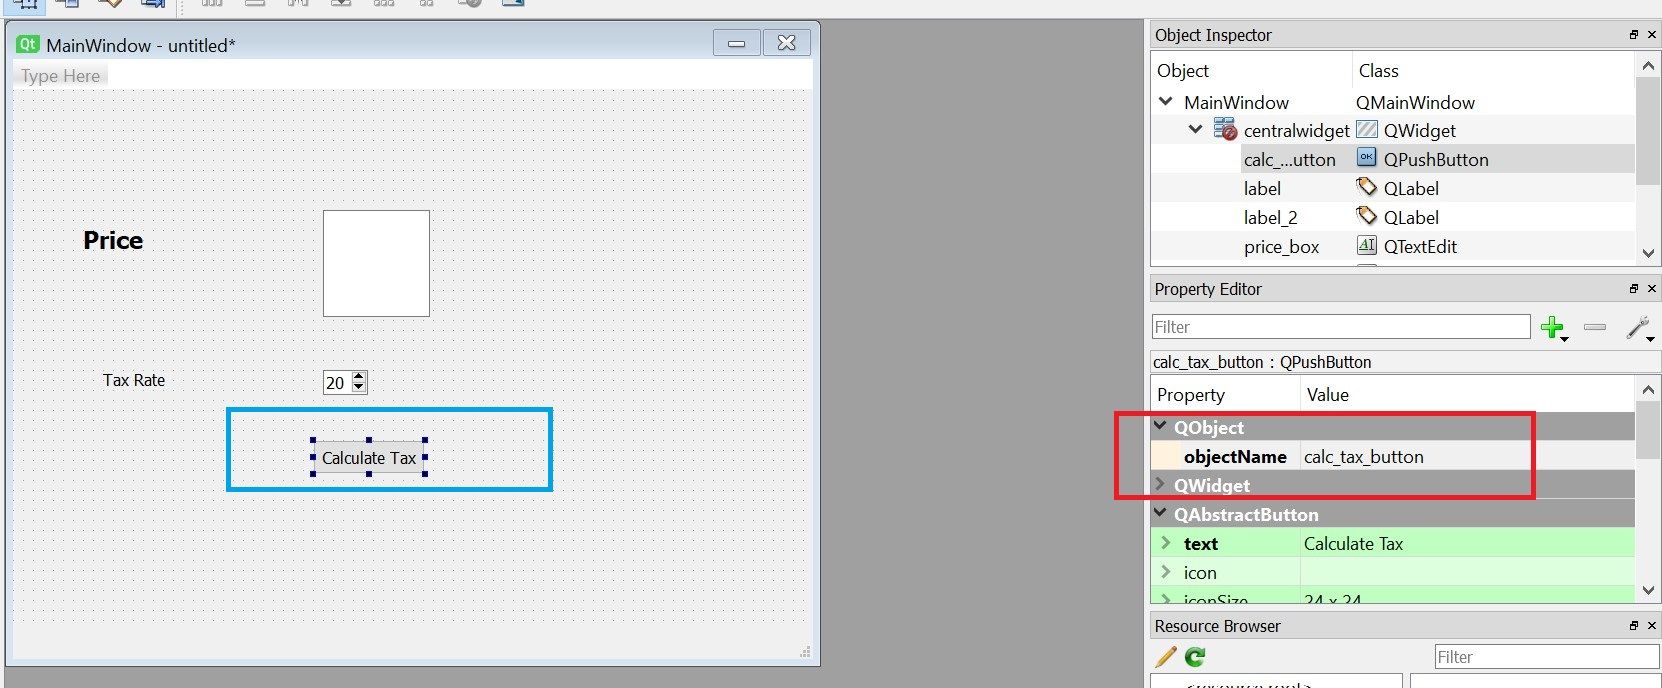
The button just says PushButton, which isn’t very helpful. By now, you should know how to change this. But before that, we change the name of the button (and not the text) to calc_tax_button.
Drag another Text Edit box on to the window. You don’t need to label it, as we will print the output in here. Do change it’s name to results_window (not shown below, but you should know how to do it by now).

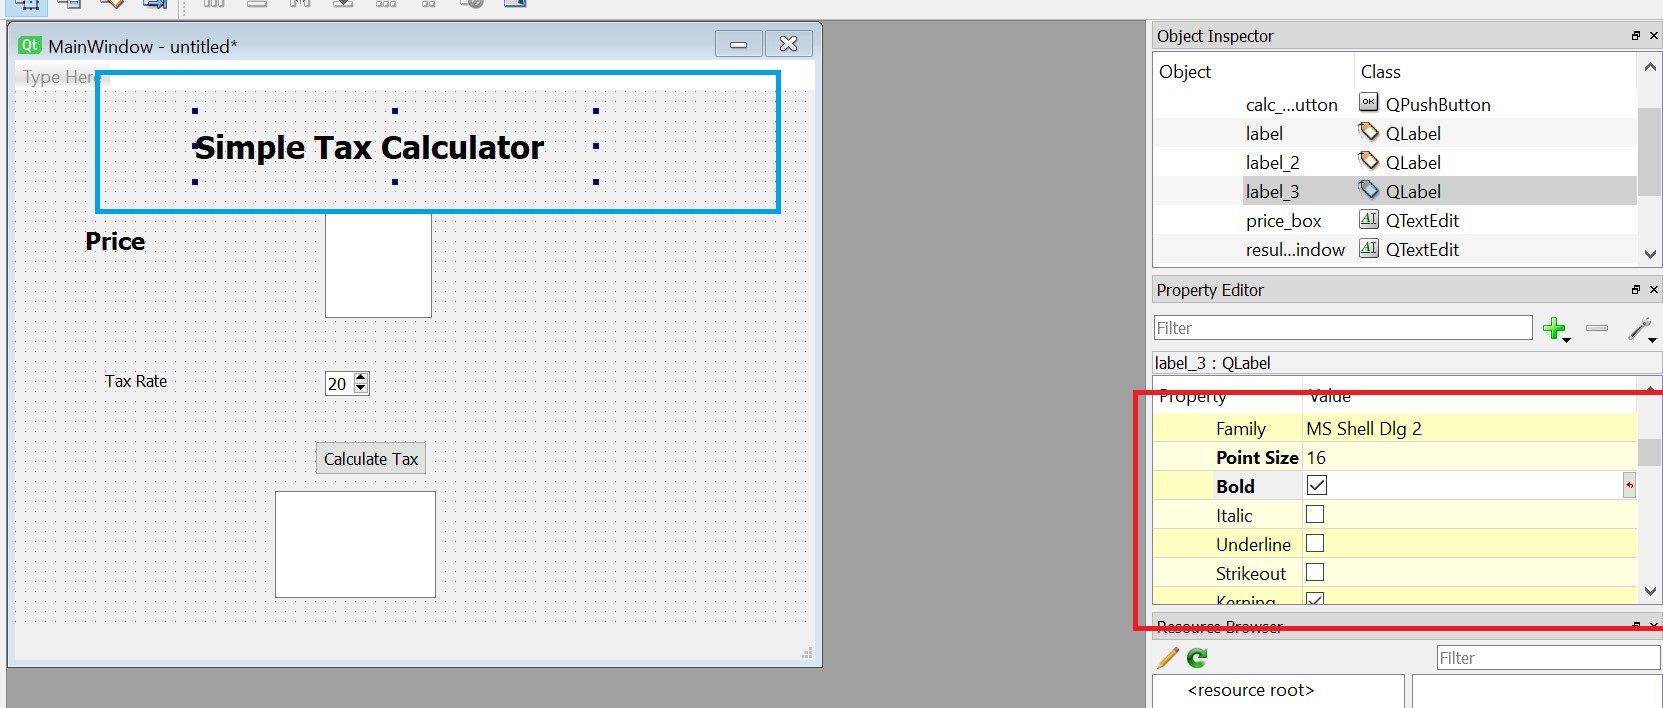
If you want, you can add a header. This is a simple label box with the font increased:
Let's tidy up the design a little to make it a little pretty. All I've is rearrange everything to make it look tidy:
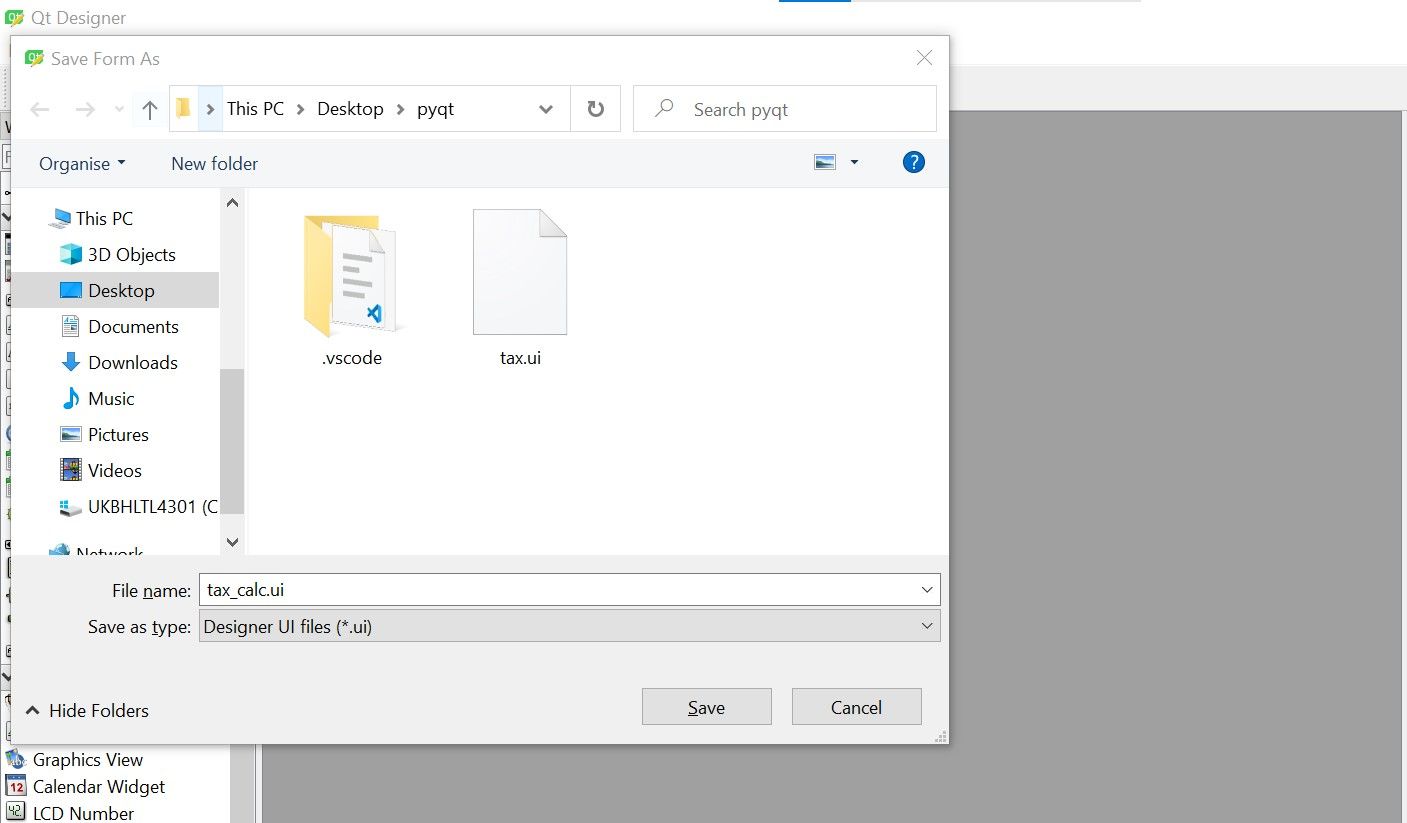
And save your work:
This file that we created is just a XML file. Open it in a text editor, if you want, and you will find something like this:
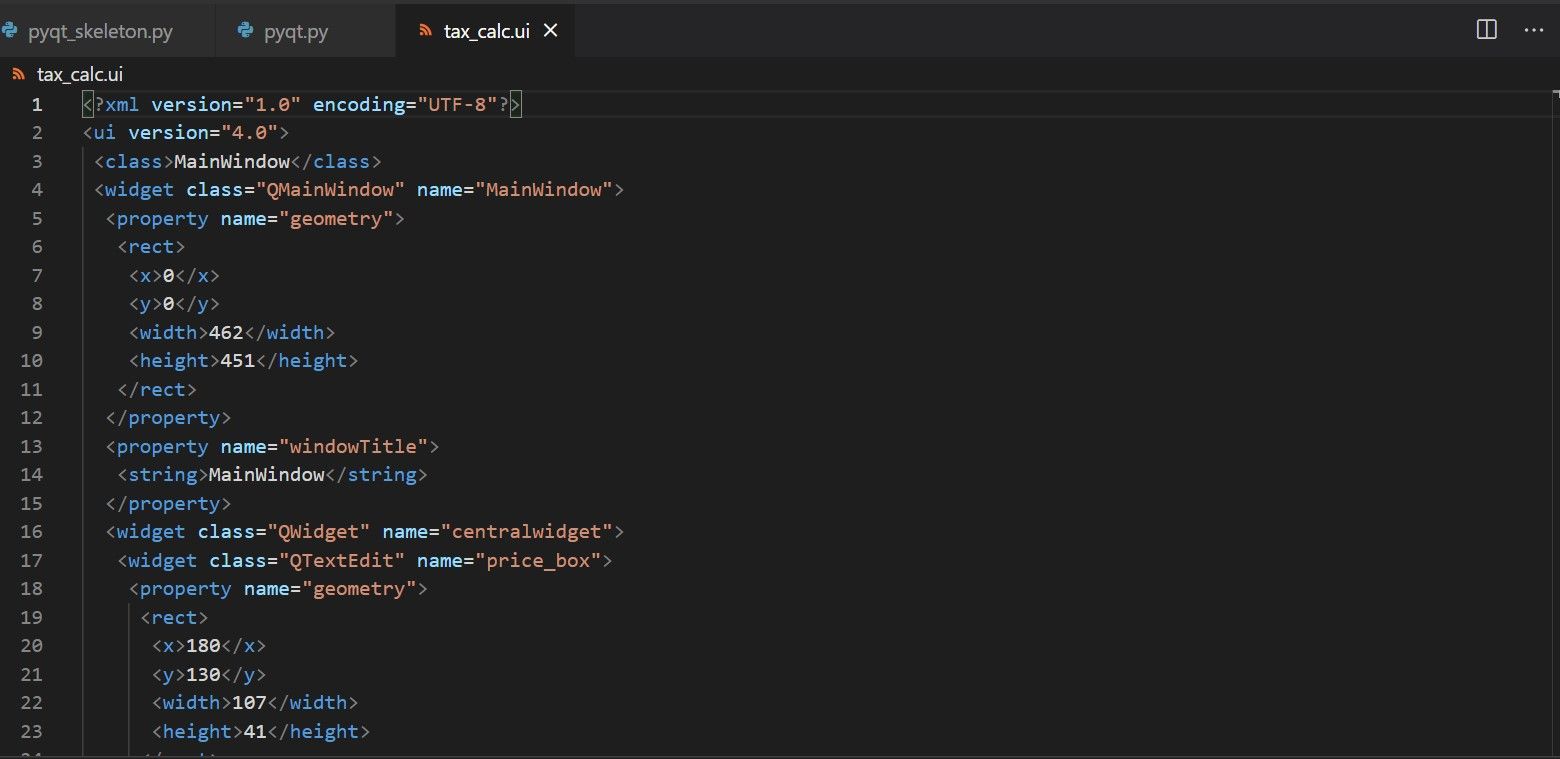
You don't need to worry too much about the xml; just be aware that the visual design is converted to an xml file out python script can import and use.
I’m sure the official documentation mentions this somewhere, but you have to do some setup before you can use the code. I couldn’t find this setup anywhere, so I worked back from the official examples (as well as other online tutorials) to find the smallest program you need to initialize the class. I have checked this function in as pyqt_skeleton.py.
This is useful, as everytime you start a new PyQt project, use this skeleton to start off, and add your code.
The code is:
import sys
from PyQt5 import QtWidgets, uic

qtcreator_file  = "" # Enter file here.
Ui_MainWindow, QtBaseClass = uic.loadUiType(qtcreator_file)


class MyApp(QtWidgets.QMainWindow, Ui_MainWindow):
    def __init__(self):
        QtWidgets.QMainWindow.__init__(self)
        Ui_MainWindow.__init__(self)
        self.setupUi(self)

if __name__ == "__main__":
    app = QtWidgets.QApplication(sys.argv)
    window = MyWindow()
    window.show()
    sys.exit(app.exec_())
The main thing to note is line 3:
qtCreatorFile = "" # Enter file here.
This is where you add the file you created earlier. It is loaded using the inbuilt function:
Ui_MainWindow, QtBaseClass = uic.loadUiType(qtCreatorFile)
Let’s take a quick look at the code:
if __name__ == "__main__":
    app = QtWidgets.QApplication(sys.argv)
    window = MyWindow()
    window.show()
    sys.exit(app.exec_())
The main code creates a new Qt Gui application. Passing in sys.argv is required, as QT can be configured from the command line. We won’t be doing that.
Finally, we create a class called MyApp, which inherits from Qt libraries and initializes the parent classes:
class MyApp(QtWidgets.QMainWindow, Ui_MainWindow):
    def __init__(self):
        QtWidgets.QMainWindow.__init__(self)
        Ui_MainWindow.__init__(self)
        self.setupUi(self)
You don’t need to know the details of this code. Just use the skeleton and work on that.
Take this file, pyqt_skeleton.py, and rename it to pyqt_first.py. That’s because we don’t want to edit the original file.
The first thing to do is add our XML file, the one that contains our GUI, to the code. Replace this line:
qtCreatorFile = "" # Enter file here.
with
qtCreatorFile = "tax_calc.ui"
This will load our GUI file into memory. Now, the key widget in our GUI was the button. Once you press the button, something happens. What? We need to tell our code what to do when the user presses the Calculate Tax button. In the __init__ function, add this line:
self.calc_tax_button.clicked.connect(self.CalculateTax)
What does this do? Remember we called our button calc_tax_button? (This was the name of the object, not the text that was displayed on it.) clicked is an internal function that is called when (surprise) someone clicks on the button. All QT widgets have specific functions, which you can find our by Googling. The last part of the code says connect(self.CalculateTax). This says that connect this button to a function called self.CalculateTax, so that everytime the user presses this button, that function is called.
We haven’t written that function yet. Let’s do it now.
In the MyApp Class, add another function. We will look at the whole function first, and then go into details:
    def CalculateTax(self):
            price = int(self.price_box.toPlainText())
            tax = (self.tax_rate.value())
            total_price = price  + ((tax / 100) * price)
            total_price_string = "The total price with tax is: " + str(total_price)
            self.results_window.setText(total_price_string)
Okay, let’s look at the code above line by line.
We have to do two things: Read the price box, read the tax box, and calculate the final price. Let’s do that now. Remember, we will call the objects by the names we gave them (which is why I asked you not to use the default generic names like box1, as that would have been confusing pretty soon).
price = int(self.price_box.toPlainText())
We read our price_box. toPlainText() is an internal function that reads the value stored in that box. You don’t have to remember all these functions, by the way. I just Google something like “Qt Textbox read data” to find out what the name of the function is, though you will start to remember the names after some time, as they are very logically named.
The read value is a string, so we convert it to an integer and store it in a variable called price.
Next, we read the tax box:
tax = (self.tax_rate.value())
Again, value() is the function for reading from a spinbox. Thanks, Google.
Now that we have both these values, we can calculate the final price using very high tech maths:
total_price = price  + ((tax / 100) * price)
total_price_string = "The total price with tax is: " + str(total_price)
We create a string with our final price. This is because we will output this string directly to our app:
self.results_window.setText(total_price_string)
In our results_window, we call the function setText(), which outputs the string we created.
Just run the file using:
python pyqt_first.py
And there you go. A simple introduction to PyQt.
If you want more fun, trying playing with the different widgets, though be warned, you can add too many widgets and make your app confusing to use.
PS: If you want to learn more, my friend Martin has written a whole book on PyQT, which I highly recommend. Check it out!