Getting Started with Godot Game Programming for Complete Beginners

In this post, we will start with a very basic Godot script, that will move a player left and right, add some gravity.
All the code is here. Part 1 is the directory with the code. I'm using Godot version 3.x for this tutorial.
Install Godot
For those who come from Unity, installing Godot is a walk in the park. You download one file and run it. It starts up immediately, even on older machines and takes very little memory. Go here to download: https://godotengine.org/download/
Starting a simple Godot Project
Start Godot and click on New project:
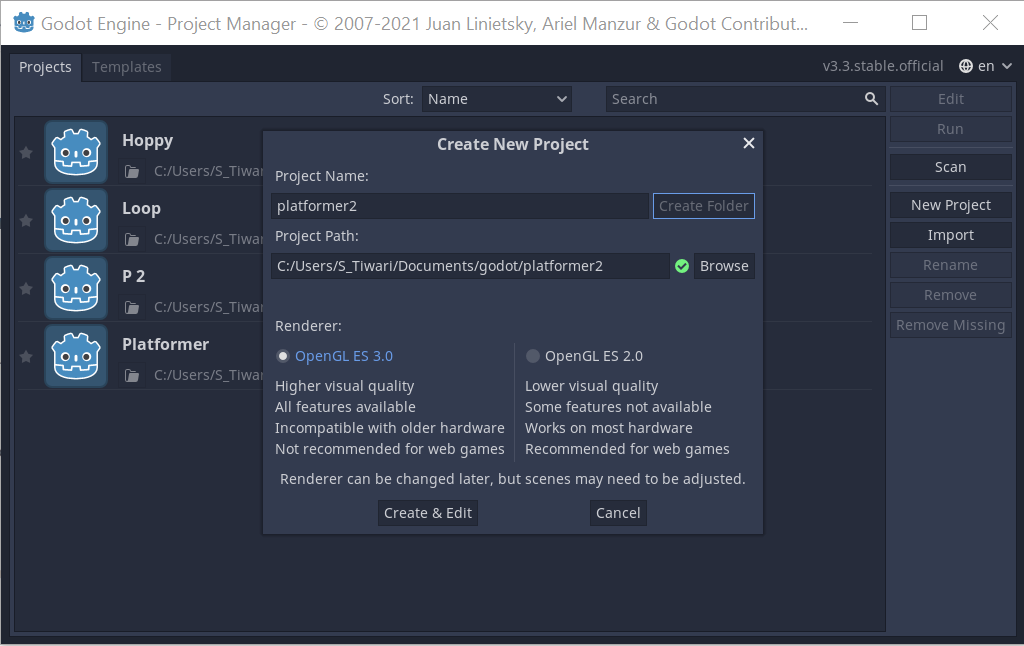
Click create.
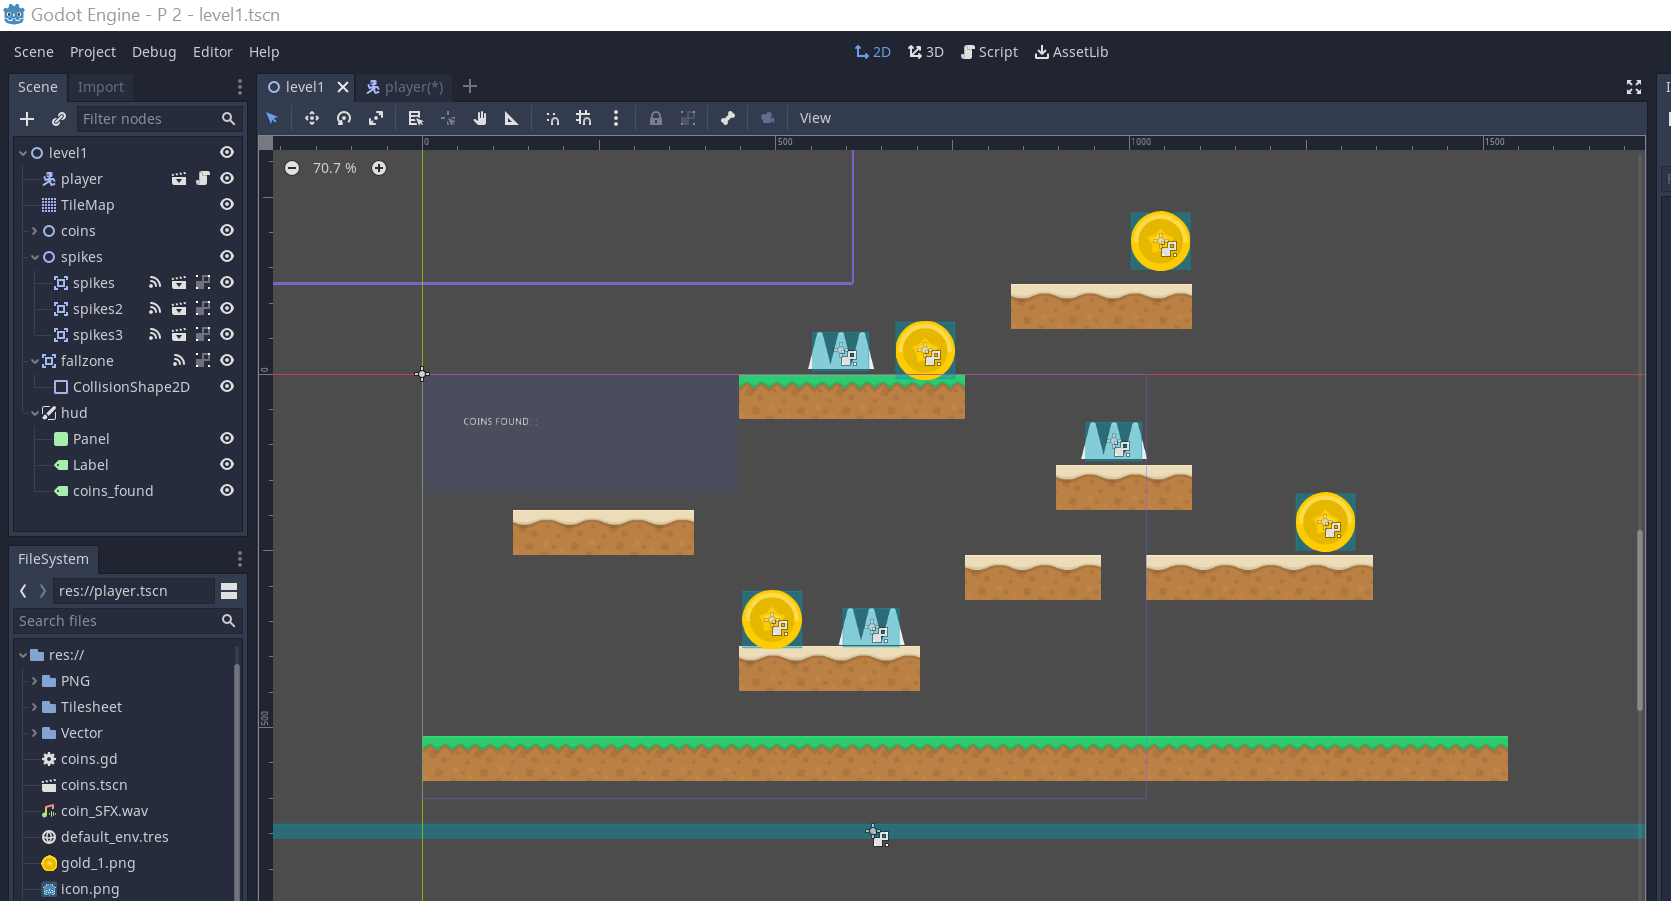
High Level View on the Godot UI
Let me explain how the Godot UI works, so you know how to move around:
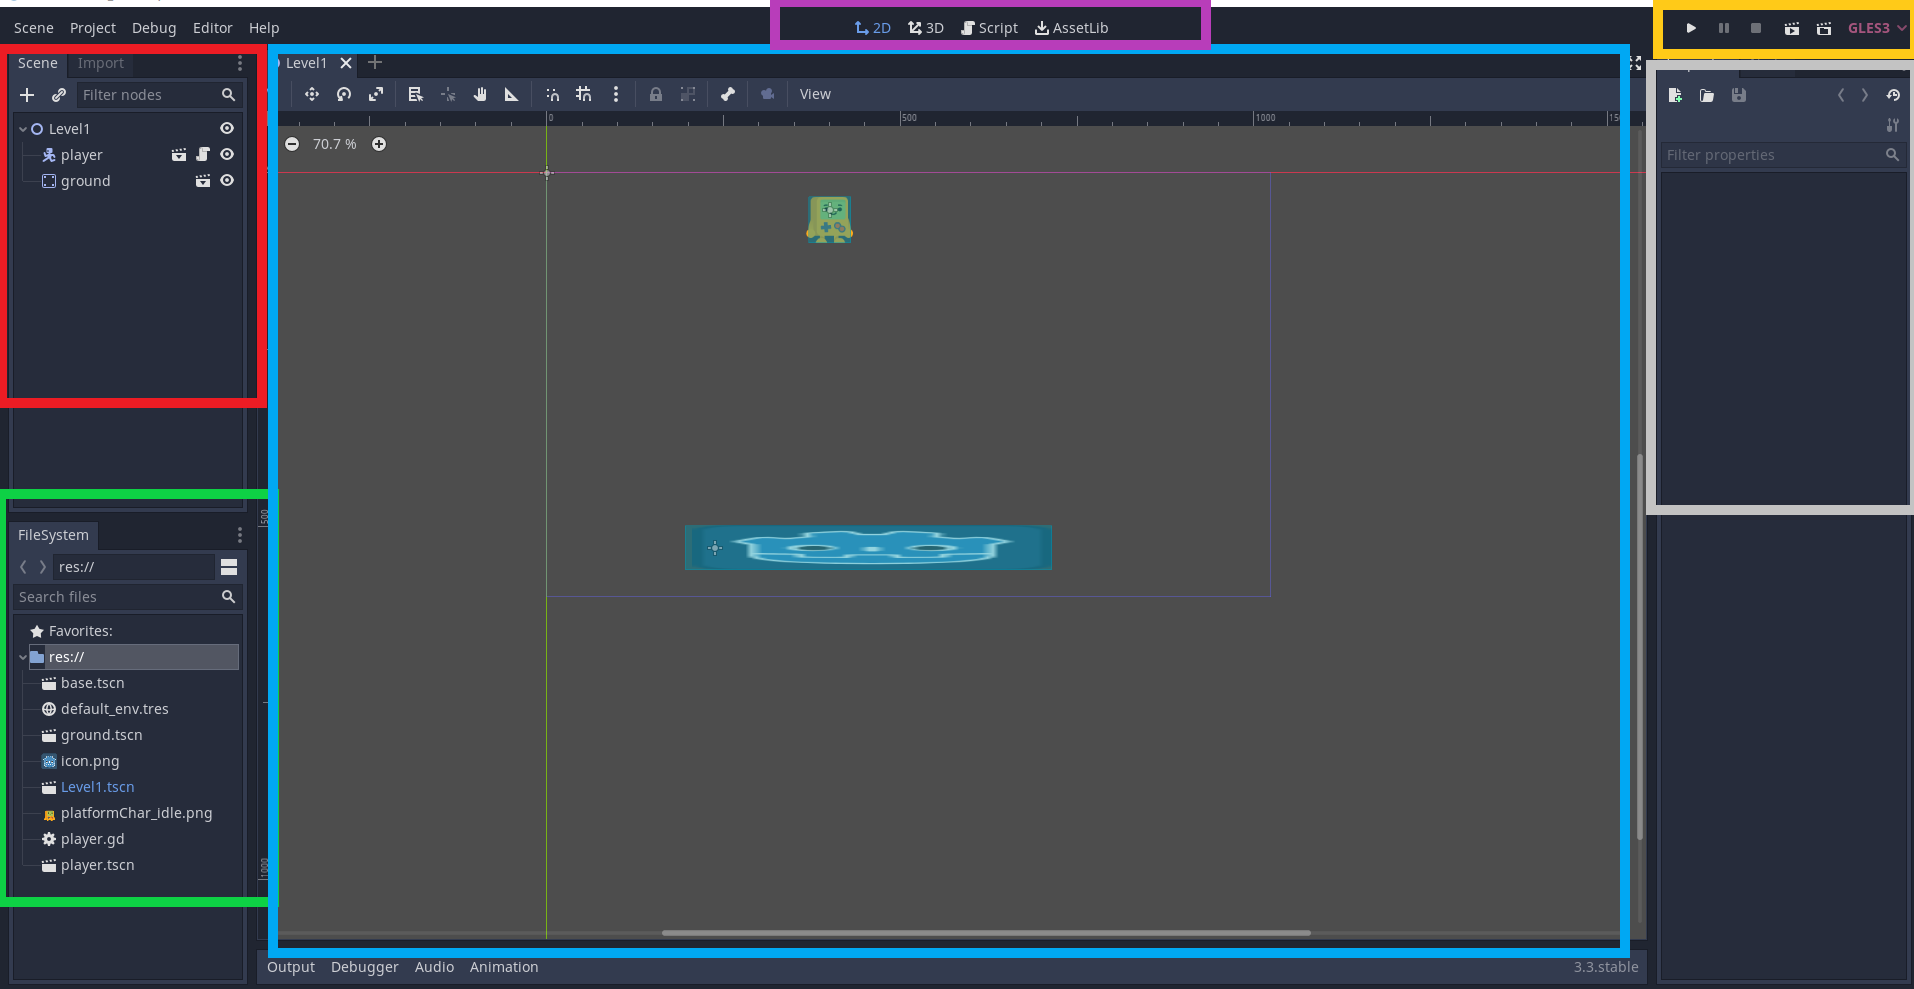
The red part on the top left part is where you can see the scenes in the game. Scenes in Godot include levels, players, enemies etc; anything you can code or design and the player interacts with.
The green part below that is the local filesystem, and any files you need for your game, like graphics or sound, can be seen here.
The big blue part in the middle is where the main game screen is. Here you will see the levels you design visually, or the code you write.
To move between the graphics and code, the purple box above the blue tells you how. Clicking on 2D (or 3D) will take you to the graphical part. While clicking on the script will take you to the code.
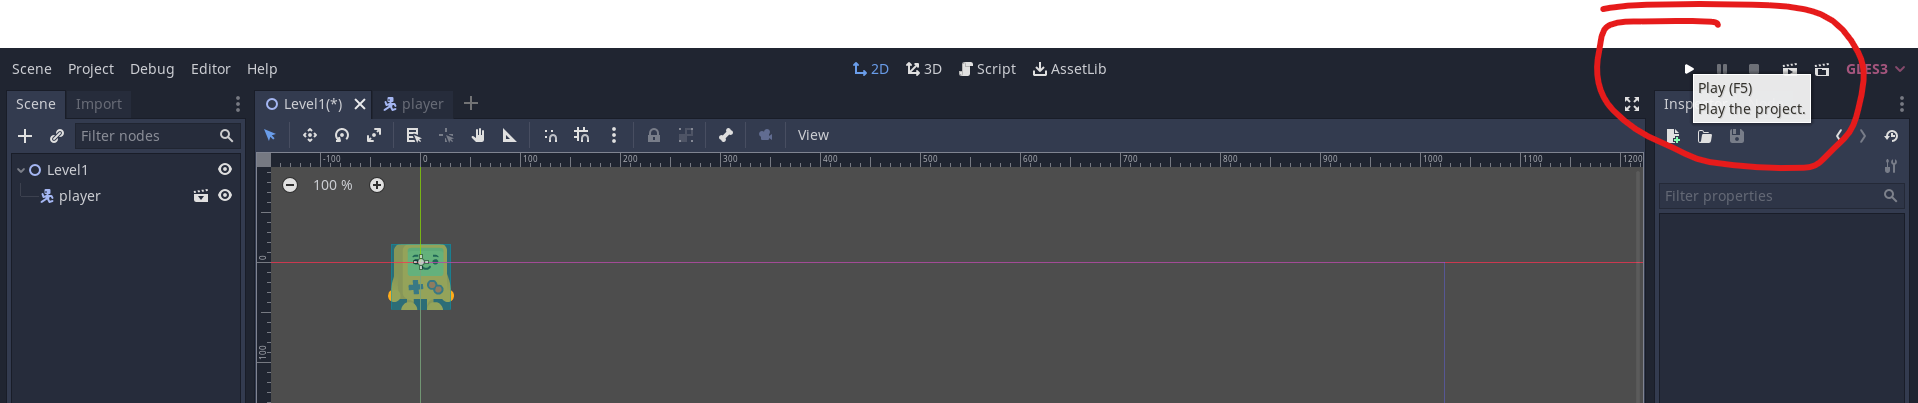
The yellow box on the top right allows you to play the game.
The grey box below that is where you can see details of whatever item you chose. For example, if you create a player scene, you can choose the sprite here. For music nodes, you can select which file you want to play, etc.
Starting the Game
On the left, choose 2d scene and rename the scene to level 1 (by double clicking on it):
Save the scene as Level1.tscn
Click the + at the top to add a new scene:
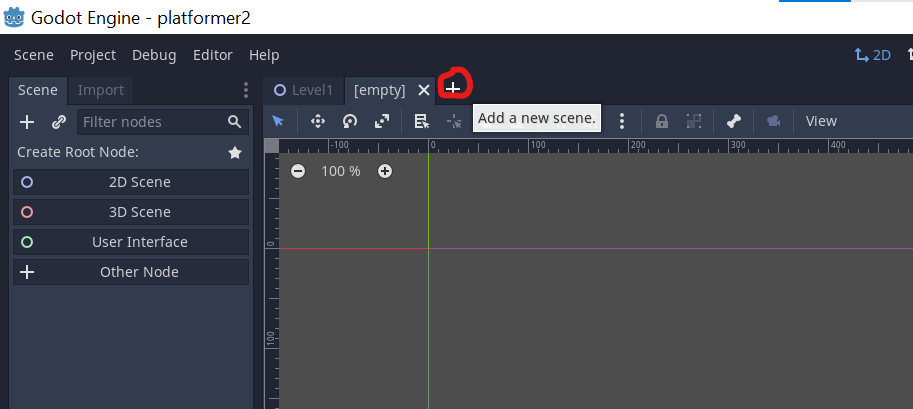
In Godot, a scene is not just the levels but can be things like characters, hazards etc. The advantage of having them as a scene is that you can mix the characters with different levels, for example, without having to create a new character each time.
Now, in the scene window, click plus to add a node:
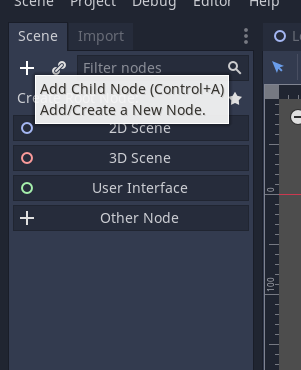
In the window that comes up, start typing "kine", and you will see the below:
Make sure you choose KinematicBody2D, the blue one, as we are making a 2d game, and rename it to player.
Save the file as player.tscn
Adding the Sprite
The next thing to do is to add a sprite to our player. Later on, we'll add an animated sprite (that'll show our player walking when we press left/right), but for now, we'll use a simple sprite.
Click on the Sprite node you created. Add the sprite, which should be in the code, to the Texture button on the right:
Now, there is a warning triangle next to our player node:
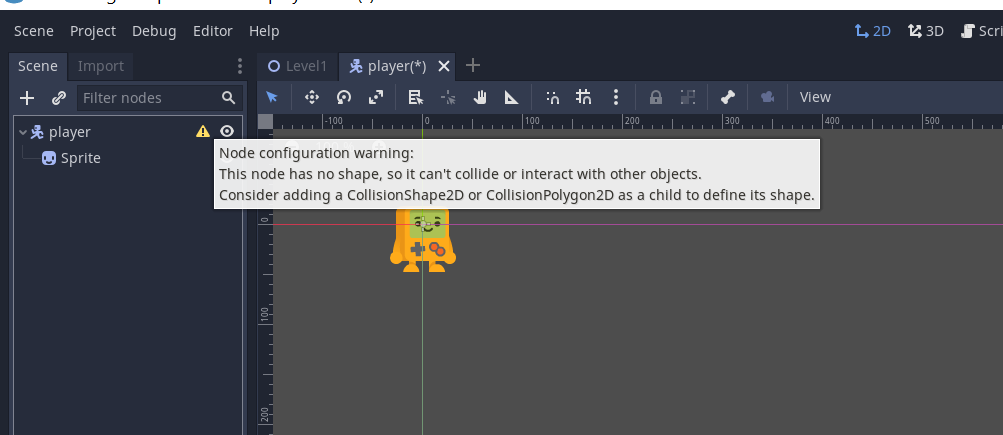
Godot is complaining there is no shape for our player. So we need to define a shape– the shape will make sure Godot can check if the player collides with other objects. Let's add a shape now.
Make sure you have the player selected (and not Sprite), click add and add the CollisionShape2d node:
There is still a warning--the Collision Shape doesn't have a "shape" :)
Let's add a rectangle shape– its the simplest and work for us, as our character is roughly a rectangle:
The next thing to do is zoom into our player, and make sure the whole CollisionShape covers it:
What this means is: Godot now knows what the shape of our player is, and can track if it is colliding with the enemy, platforms etc.
There are different shape types, and you can even click and select for complex shapes, but we won't go into that now.
Now we need to add our player to the scene. Click on level1, and make sure you click the link button, not the add new node button:
That's it. Let's try playing our game now. Click the play button. If this is the 1st time, you will be asked to select a scene:
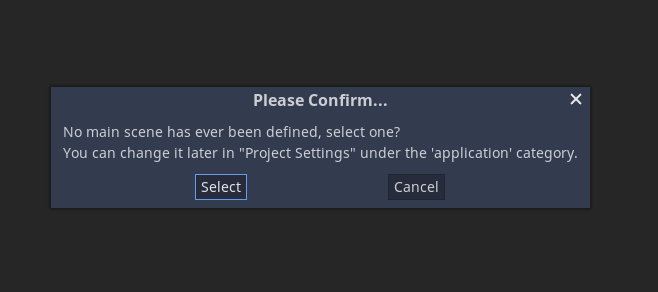
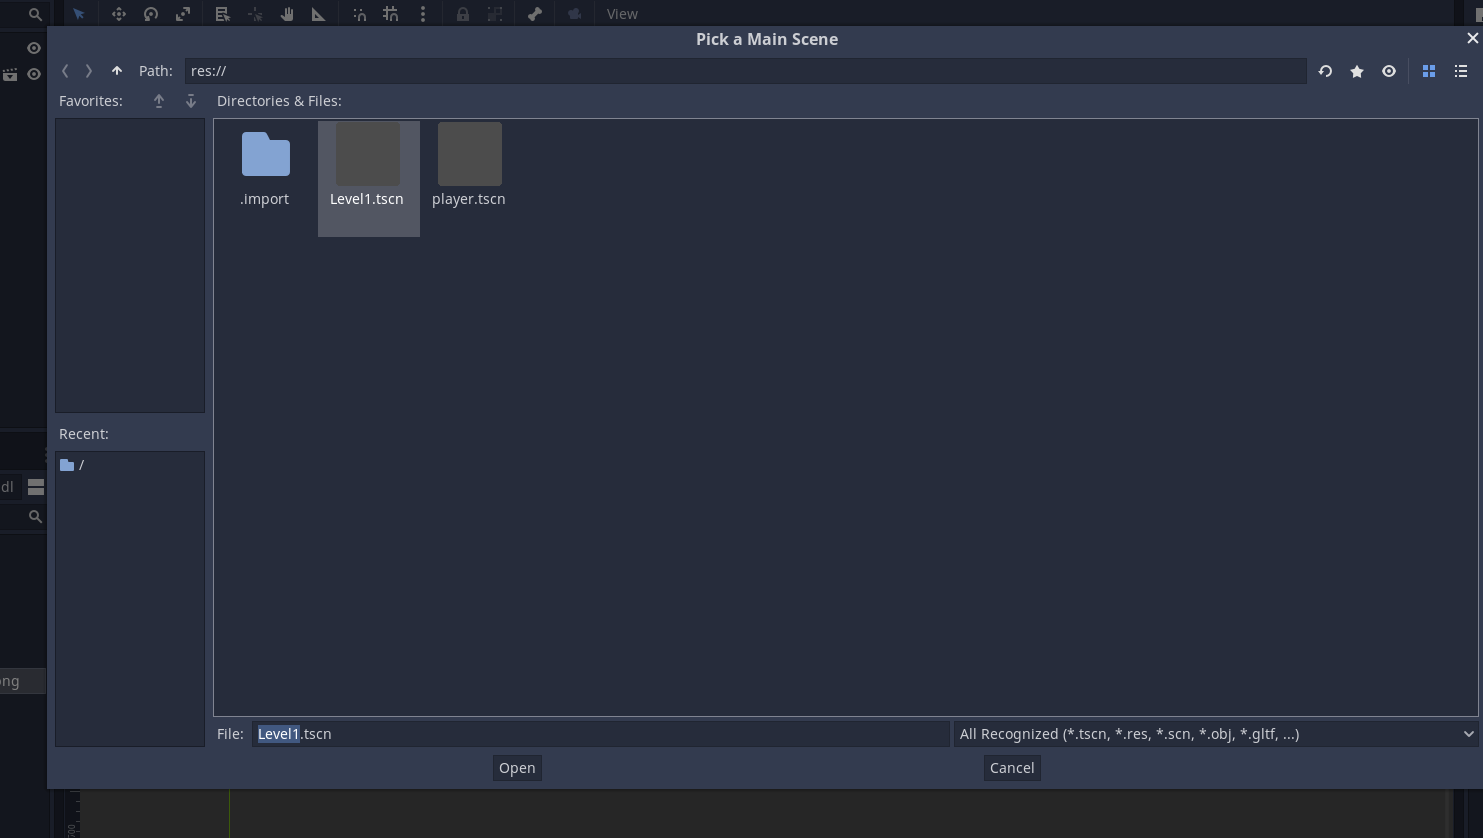
Click Select and choose Level1:
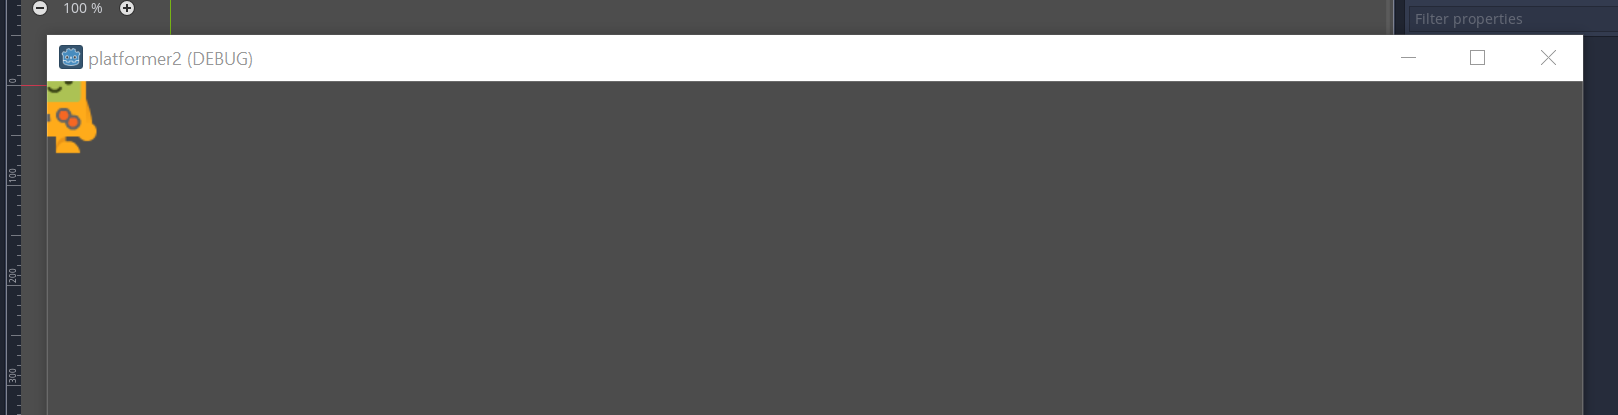
Our game starts, and our character is at the top right corner:
Let's fix that.
1st, the purple/green lines are the screen, ie, what the user sees:
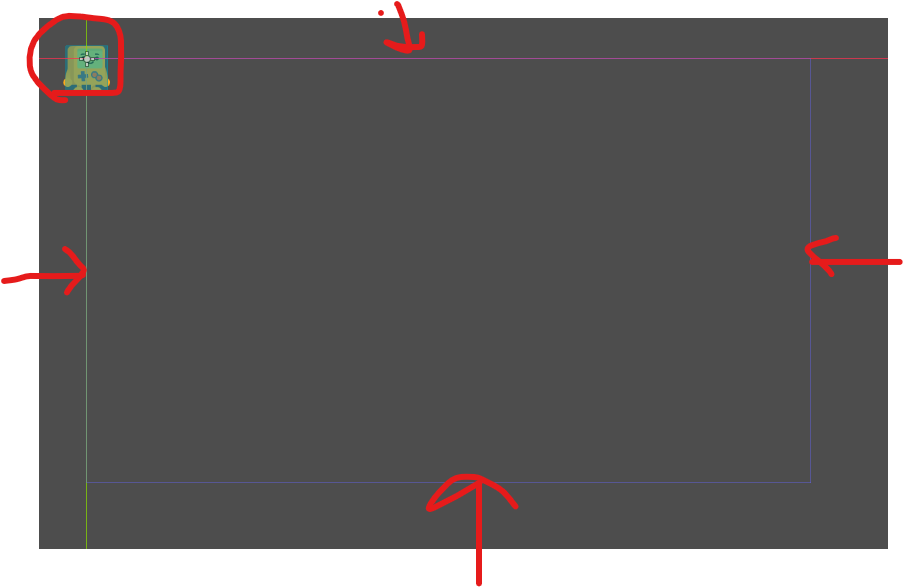
Our player is at the top right of the screen which is why we can't see him. Move him and play the game again:
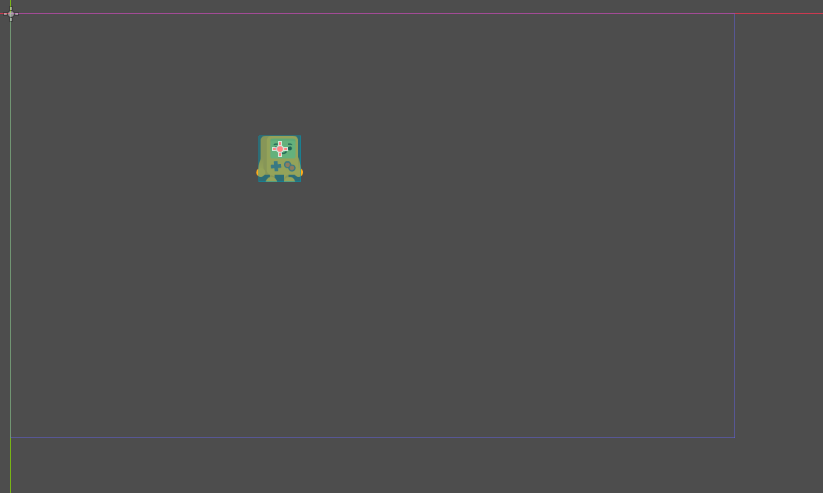
That's better. The player doesn't do anything yet. Let's fix that, make it move left and right.
Moving our player using the keyboard
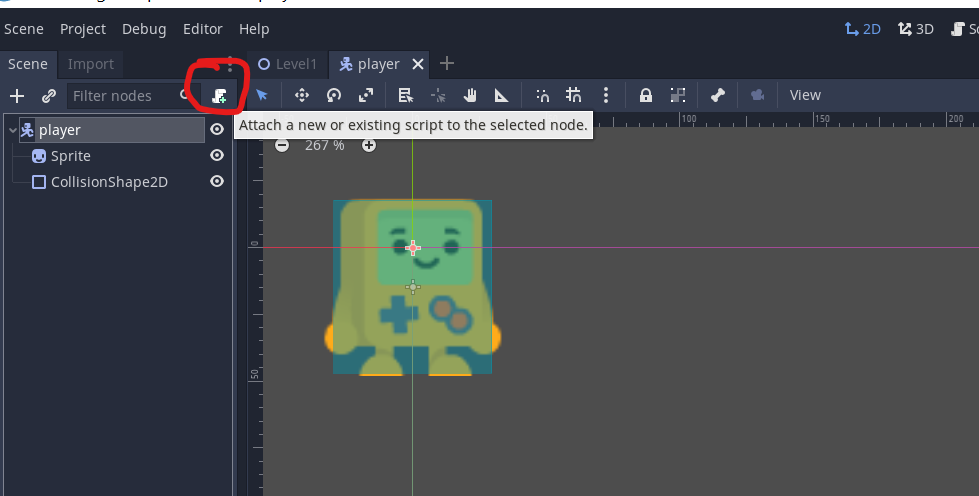
Go to the player and add a new script:
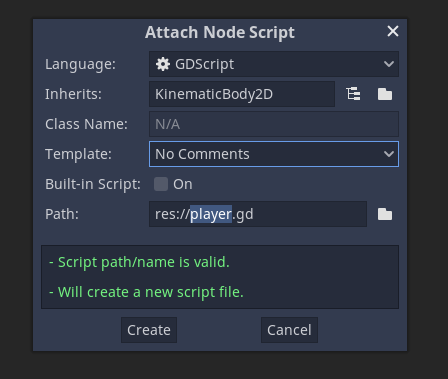
Choose No Comments template:
Create a variable for speed:
const SPEED = 200And add a function for physics. The _physics_process(_delta) is an inbuilt function that is called 60 times a second and can handle game physics.
And to handle user input, the inbuilt function is Input.is_action_pressed()
Add this code:
const SPEED = 200
var velocity = Vector2(0,0)
func _physics_process(_delta):
	pass
We are creating a 2D Vector object– the vector can store positions in 2d Space. https://docs.godotengine.org/en/stable/classes/class_vector2.html
The first thing we need to do is map our input keys. Go to Project-> Project settings, and select Input Map:
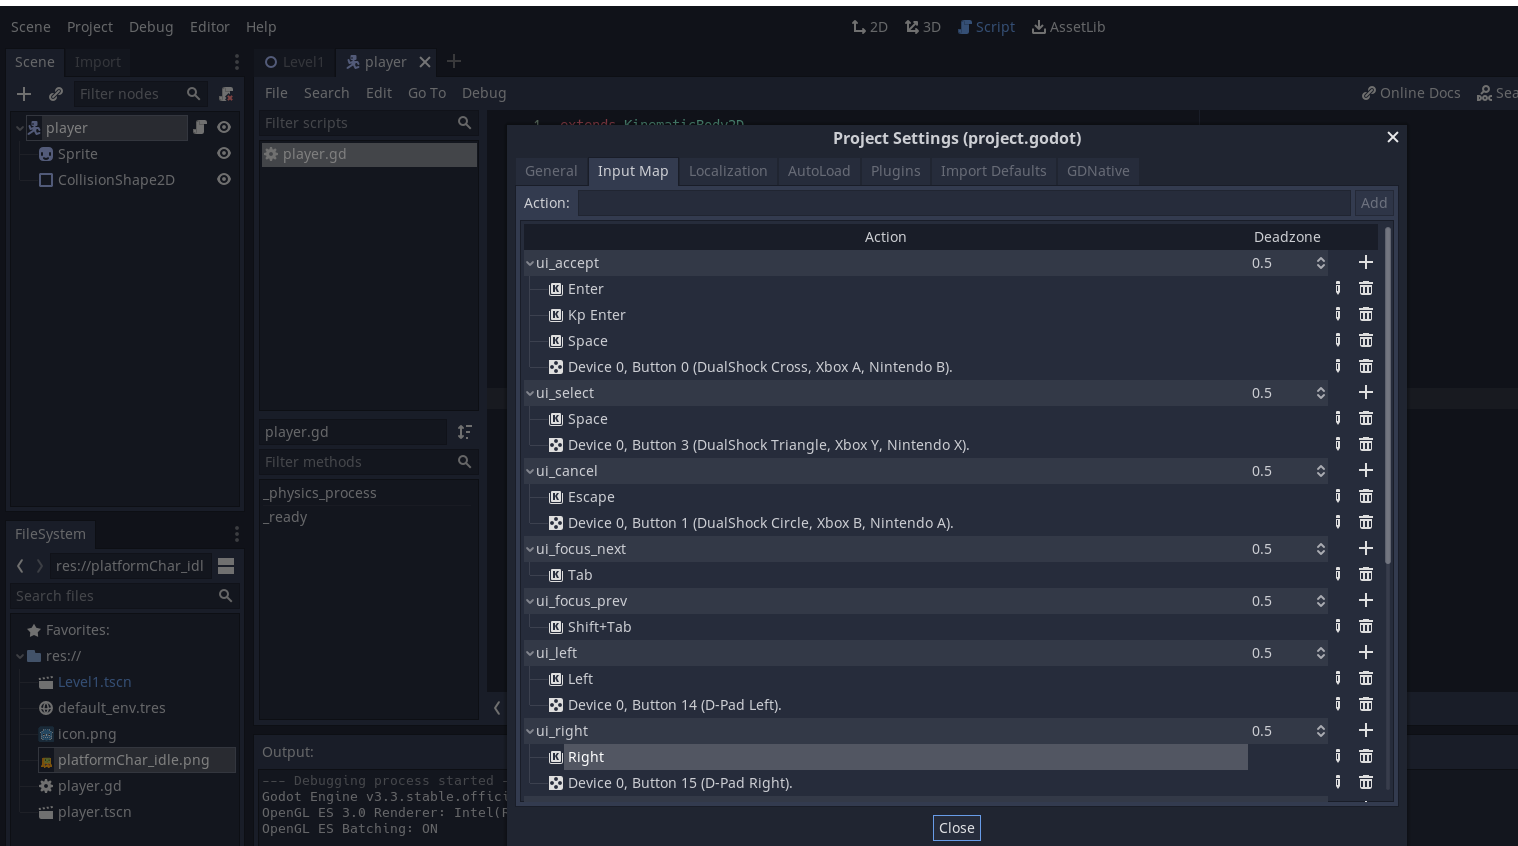
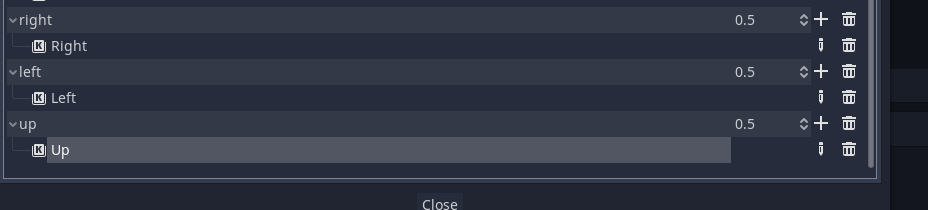
Click the + button to add more keys. In the example below, I add the right key. When it says "Press a Key", press the right key to bind our "right" button to the right key:
Do the same for left and up keys.
Come back to the code. If you are ever lost between the visual part and the code part, you can switch between the 2d view and script view from here:

Add this script:
func _physics_process(_delta):
	if Input.is_action_pressed("right"):
		velocity.x = SPEED
	elif Input.is_action_pressed("left"):
		velocity.x = -SPEED
	else:
		velocity.x = 0
If the user presses right, increase the x part of velocity by SPEED, which we described before. Same for the left.
GdScript, the language, is very similar to Python, so if you know Python you can follow it easily.
If the user isn't pressing anything, set the x velocity to 0.
That's good, but though we are changing the velocity, we are not applying this to the player. For that, we will use the move_and_slide() function (https://docs.godotengine.org/en/stable/tutorials/physics/using_kinematic_body_2d.html)
From the docs:
When moving aKinematicBody2D, you should not set itspositionproperty directly. Instead, you use themove_and_collide()ormove_and_slide()methods. These methods move the body along a given vector and instantly stop if a collision is detected with another body. After a KinematicBody2D has collided, any collision response must be coded manually.
The move_and_slide() method is intended to simplify the collision response in the common case where you want one body to slide along the other. It is especially useful in platformers or top-down games, for example.So let's use this method:
velocity = move_and_slide(velocity) We update the player body with our velocity variable and return the variable for future use.
The whole function is:
func _physics_process(_delta):
if Input.is_action_pressed("right"):
velocity.x = SPEED
elif Input.is_action_pressed("left"):
velocity.x = -SPEED
else:
velocity.x = 0
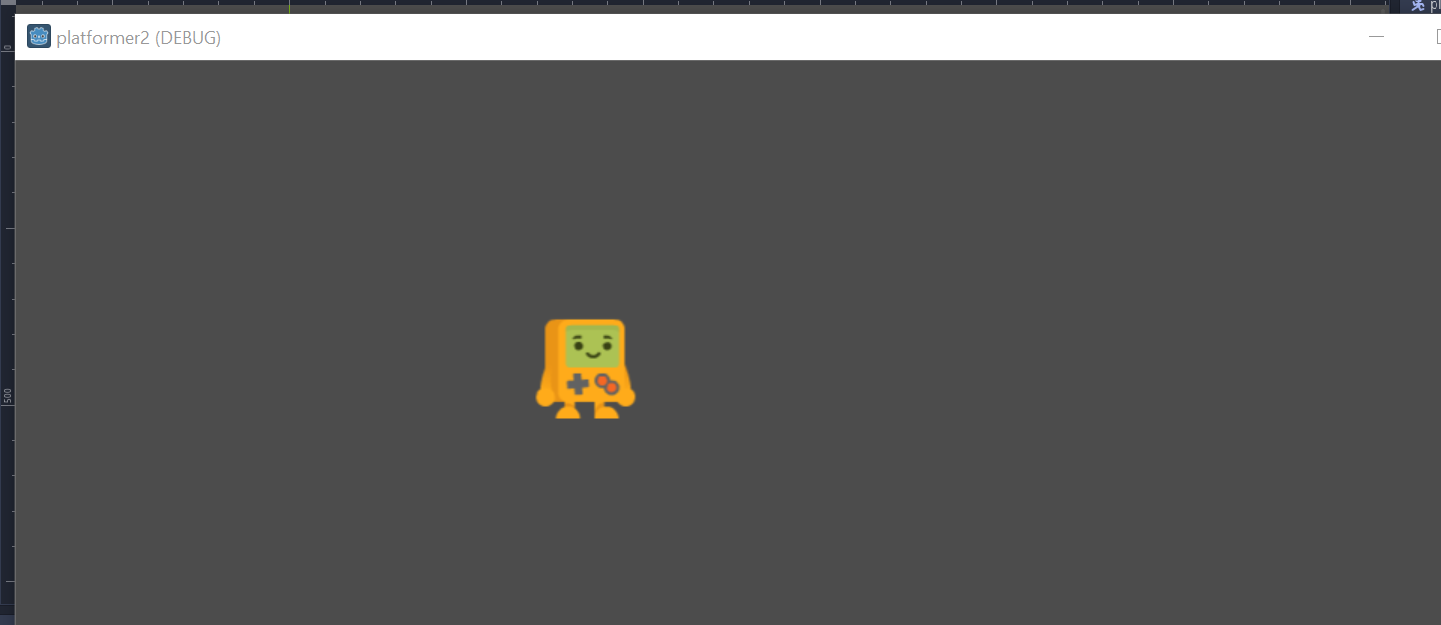
velocity = move_and_slide(velocity) Run the game:
Our character can move left and right. Let's add gravity now.
Adding gravity to our game
Adding gravity is easy. In the script, add:
const GRAVITY = 20

func _physics_process(_delta):

	velocity.y += GRAVITY
And run the game:
The character just falls off the screen. We need to give it a place to stand.
Later on, we'll create proper levels, but for now, we'll just create a dummy platform for our player to land on.
Create a new scene of type StaticBody2d:

Like we did for the player, we need to add a sprite and collision body. Do it, same as before:
In the image above, I use the recent node list to pick up the 2 nodes I want. This is faster than typing the name.
We now need to add a sprite and a shape. For the sprite, we will just use the standard Godot icon that comes inbuilt with the project. The shape will be a rectangle.
The next thing to do is to zoom in and increase the size of the icon (and the collision layer), so they are big enough for our player to land on.
Before we go on, choose the ground layer we created and click this button:
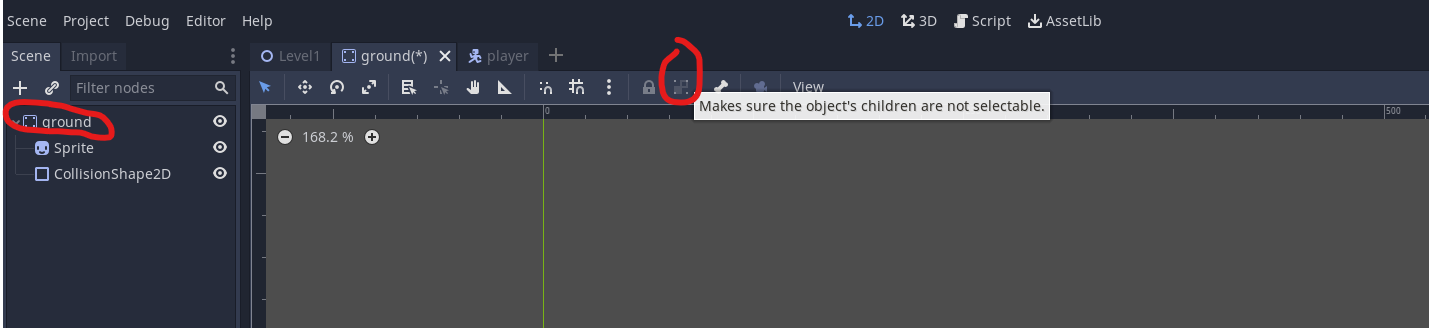
This will make sure when we move the ground around, its children, both the sprite and the collision layer, move with it.
Next, we need to add this ground to the main level. You've done this before. Click on Level1, then the link button, and add the ground. Move the ground to below the player, but remember to keep it on the screen (the purple and green lines I showed you before):

Run the game:
The player falls to the ground and stays there. Why? Because the ground is also a physics object, and Godot figures out the player will land on it. We chose a StaticBody2d node, which is used for immovable objects that don't react or move with the player.
You can move the player around, and it falls off the screen if you go too far.
Phew! That was a lot. Next time, we'll add animation, so the player appears to be walking:
We'll also start creating and designing the level:
Sign up below to know when the next part is out.