Your First Game in Python: Create an Arkanoid Clone in less than 30 minutes


We're going to write a clone of Arkanoid (Breakout) using Python and PyGame Zero. In this post, I want to show you how easy it is to write a simple game.
Let's get started!
All the code is available here: https://github.com/shantnu/arkanoid-clone
The images are from Kenney, which has a lot of cool and free game assets. Check them out!
Install Pygame zero:
pip install pgzeroThe first thing we will do is open an empty window:
import pgzrun

TITLE = "Arkanoid clone"
WIDTH = 800
HEIGHT = 500

pgzrun.go()
We import Pygame zero. TITLE is the title displayed on the window, and the other 2 variables define the width and height.
pgzrun.go() runs the program.
You will see a blank window:

Next, let's show some blocks.
Add this code below the height and width:
WIDTH = 800
HEIGHT = 500

paddle = Actor("paddleblue.png")
paddle.x = 120
paddle.y = 420

ball = Actor("ballblue.png")
ball.x = 30
ball.y = 300
Actor is how Pygame zero displays images. The images are always stored in an images folder in the same location as the game script.
➜ tree
.
├── game.py
└── images
    ├── ballblue.png
    └── paddleblue.png

1 directory, 3 files
We also set the starting x and y position of the images we are loading:
paddle.x = 120
paddle.y = 420
These values can be anything, I got the above by trial and error.
So we have the images loaded in memory but we are not displaying them yet. Let's fix that now. Pgzero has an inbuilt draw() function that's called automatically when you start the game. There is also an update function that gets called 60 times a second and updates the screen as you move.
Update vs Draw function
The update and draw functions are similar– except the update is called 60 times a second, while draw is only called if something changes.
There are no hard and fast rules, but I'd use update for things that change a lot, like keyboard movement, the ball movement etc, while background images can be in draw.
Drawing the paddle and ball
For now, we will only draw on the screen, and leave update empty:
def draw():
    paddle.draw()
    ball.draw()

def update():
pass 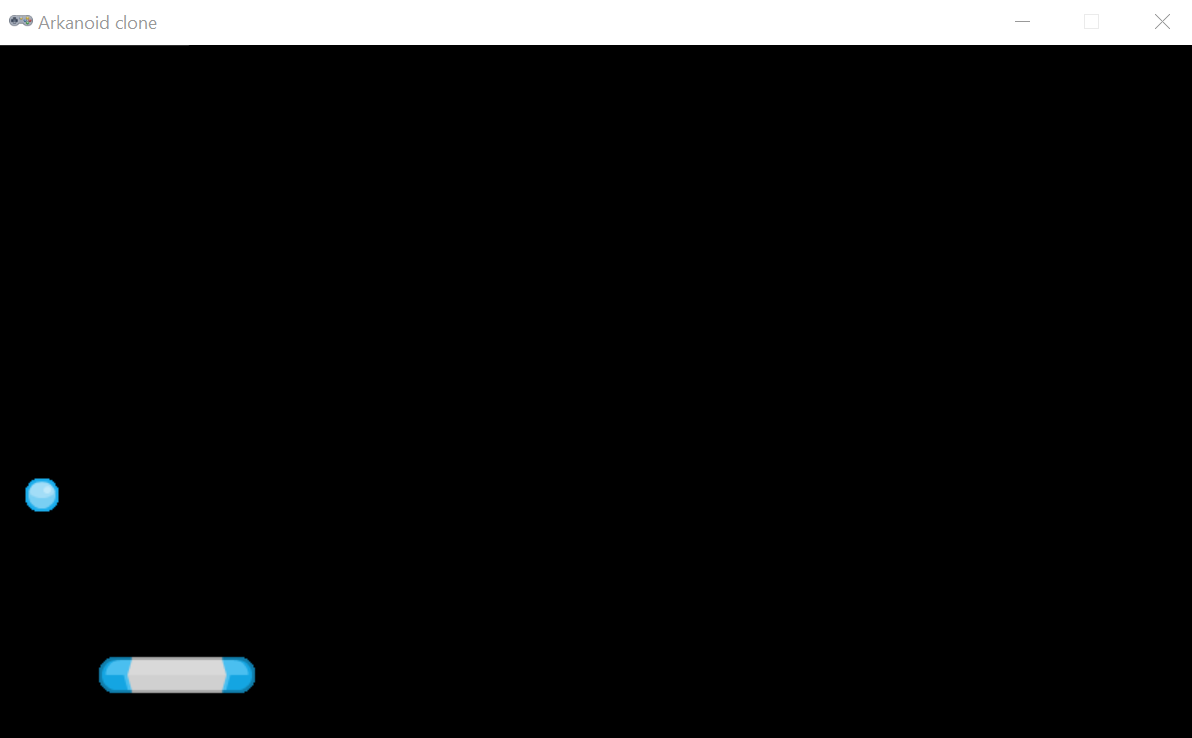
There is one more thing I will do. The background is boring– let's jazz it up.
Let's update the draw function:
def draw():
    screen.blit("background.png", (0,0))
    paddle.draw()
    ball.draw()
The background is a file background.png in images. The blit() function draws our image to the screen. The (0,0) means starting at position x=0 y=0. We will talk more about the Pygame Zero coordinate system below.
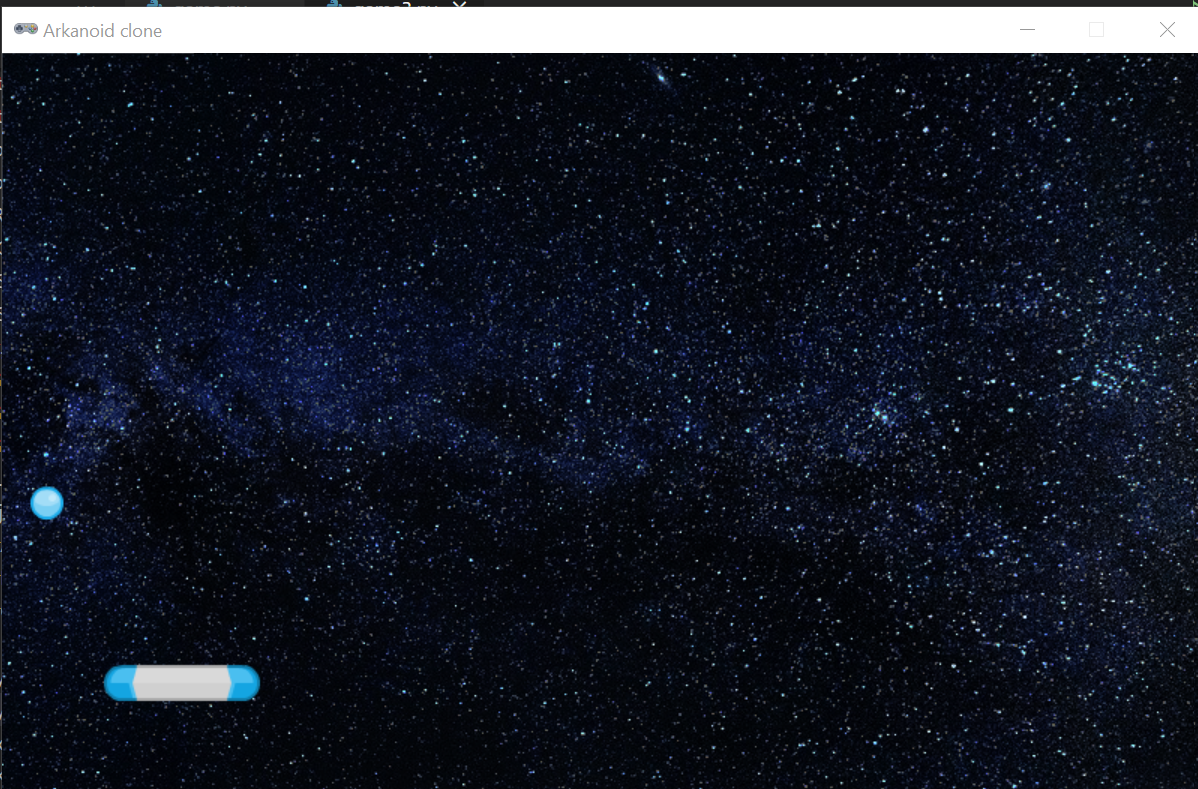
Much better.
Laying out the bars
Next, we want to lay out all the top bars that our ball will hit.
There are a few bars images in our directory, we will use them. First, just layout 1 bar:
bar = Actor("element_blue_rectangle_glossy.png")
bar.x=120
bar.y=100

def draw():
    bar.draw()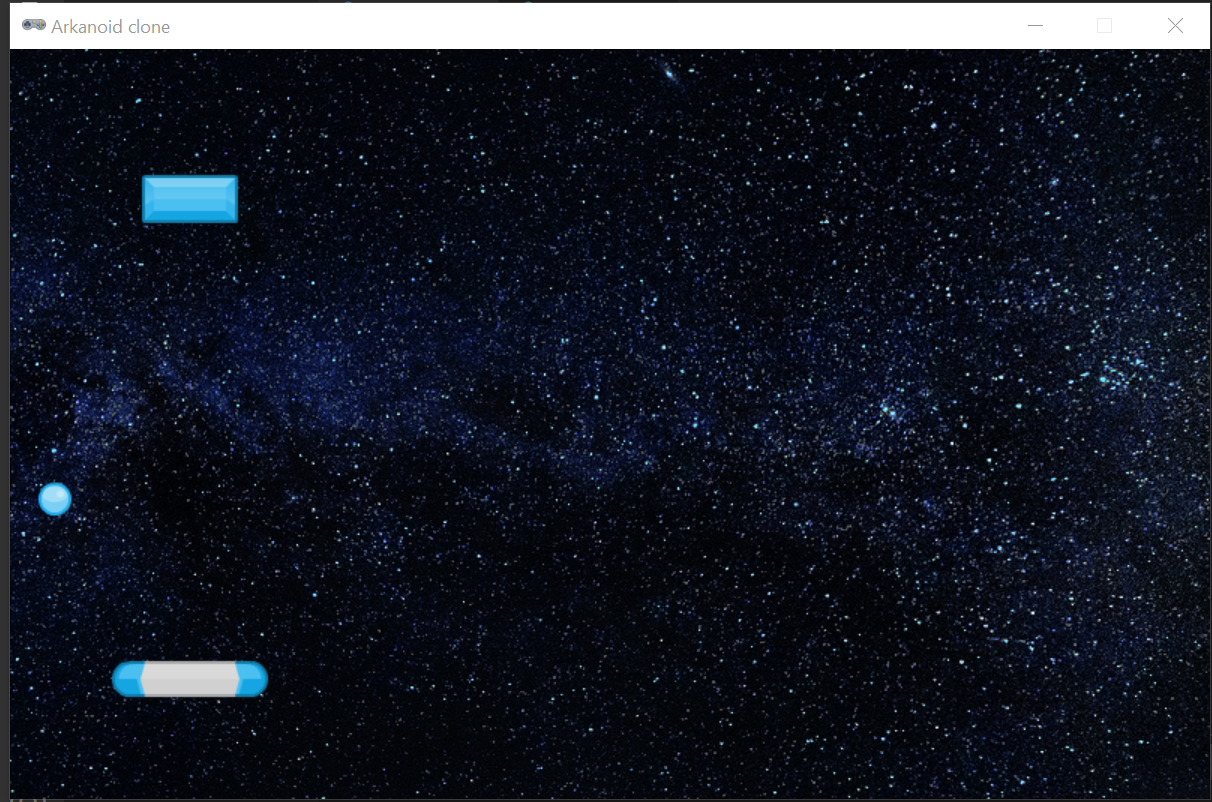
Obviously, laying one bar at a time is painful. Let's use a for loop to lay more than one.
def draw():
    bar_x = 120
    bar_y = 100
    for i in range(8):
        bar = Actor("element_blue_rectangle_glossy.png")
        bar.x = bar_x
        bar.y = bar_y
        bar.draw()

        bar_x += 70
We create starting x and y variables- bar_x initialised to 120 and bar_y initialised to 100
We loop 8 times. Why 8? Because that's how many bars we can comfortably sit on the screen.
For each loop, we create an Actor and initialise its x and y, and draw it to the screen. We then do:
bar_x += 70so that the next bar is moved 70 pixels to the left. Again, I found 70 by trial and error. Try changing the value and see the bars either overlap or be too far apart.
Run the code:
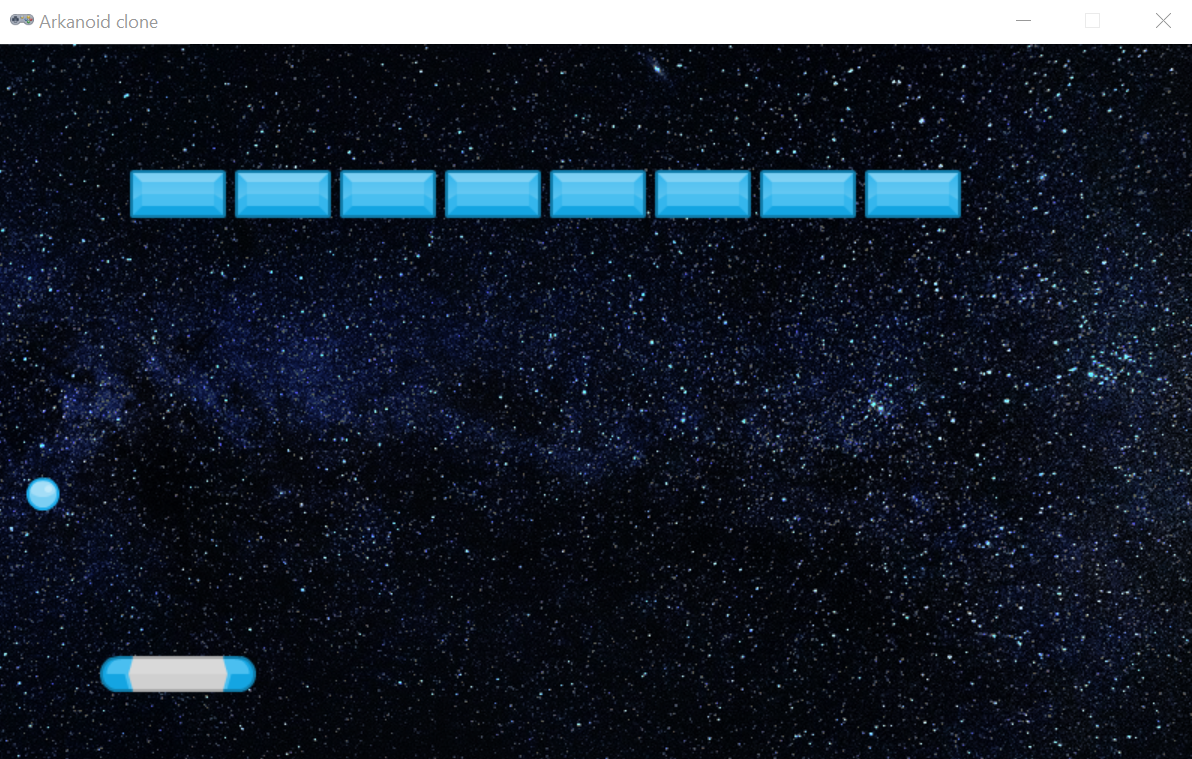
Good. Now we need to lay out all the other bars as well. I plan to have 3 rows with different colours.
The first thing I'm going to do is extract the above code into a function:
def draw():
    screen.blit("background.png", (0,0))
    paddle.draw()
    ball.draw()
    place_blue_bars()

def place_blue_bars():
    bar_x = 120
    bar_y = 100
    for i in range(8):
        bar = Actor("element_blue_rectangle_glossy.png")
        bar.x = bar_x
        bar.y = bar_y
        bar.draw()
        bar_x += 70
All I've done is extract the code into a function place_blue_bars()
Now, I could create more functions create_red_bars() etc, but I'm sure we can do it more smartly. So I will have a general function place_bars():
def place_bars(x,y,image):We will also create another global variable bars_list = [] at the top, we will use this to check which bars to display, and which ones to remove after a ball hits it.
We will pass in the starting x and y of the first bar, plus the image we want to use. The final function is:
def place_bars(x,y,image):
    bar_x = x
    bar_y = y
    for i in range(8):
        bar = Actor(image)
        bar.x = bar_x
        bar.y = bar_y
        bar_x += 70
        bars_list.append(bar)
The only change is we initialise x,y and the image from the input we get.
We will call this function before the main game code starts, so before pgzero.run()
 coloured_box_list = ["element_blue_rectangle_glossy.png", "element_green_rectangle_glossy.png","element_red_rectangle_glossy.png"]
    x = 120
    y = 100
We have a list with our 3 images, and we initialise the x and y values. We then loop over our list:
    for coloured_box in coloured_box_list:
        place_bars(x, y, coloured_box)
        y += 50
We need to do a y+= 50 in each loop, otherwise, the bars will be placed on top of each other.
The final code:
 coloured_box_list =
 ["element_blue_rectangle_glossy.png",
 "element_green_rectangle_glossy.png",
 "element_red_rectangle_glossy.png"]
 x = 120
 y = 100
 for coloured_box in coloured_box_list:
     place_bars(x, y, coloured_box)
     y += 50
There is one more thing to do. We are creating our bars but not displaying them. Update the draw function:
 def draw()
    for bar in bars_list:
        bar.draw()
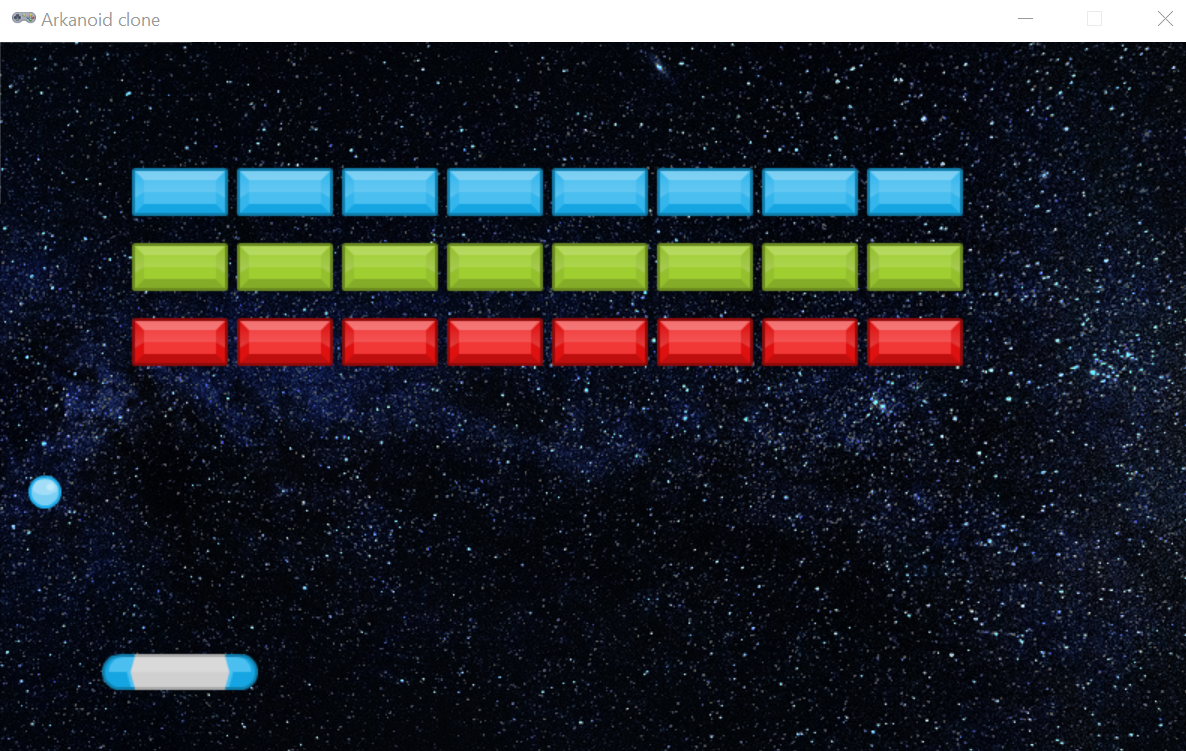
And we have our beautiful layout. We can start working on the logic now.
Adding ball physics and handling user input
Move the paddle
Let's start by moving our paddle. This is quite easy in Pygame zero– you can just check for the keyboard events directly. Let's update our update() function:
def update():
    if keyboard.left:
        paddle.x = paddle.x - 5
    if keyboard.right:
        paddle.x = paddle.x + 5
if keyboard.left checks if the left key is pressed, and if it is, changes the x position of the paddle by -5 (ie, moves it left by 5 pixels). And the same for the right key.
Why did I choose 5 pixels? To find a balance between moving too fast/slow. Try changing the values to 1 and 10– and see what happens.
Press left and right– you can move the paddle now.
Move the ball
Remember the inbuilt update() method is called 60 times a second. So any game logic, like moving the ball, checking for collisions etc will go here.
We'll create a new function called update_ball() that we will call from update().
def update():
    update_ball()

def update_ball():
    ball.x -= 1
    ball.y -= 1
We're changing the x and y positions of the ball.
A bit about the Pygame Zero Coordinate system

The top left of the screen is 0,0 ; ie, x=0, y=0
As you go right, x increases.
As you go down, y increases.
So to move left, decrease x. To move right, increase x.
To go down, increase y. To go up, decrease y.
With that in mind:
ball.x -= 1 moves the ball left (as -1 = left, +1 = right)
ball.y -= 1 moves the ball up(as -1 = up, +1 = down)
So at the start, the ball will move up and left. This is just a random decision– you could as easily choose down and right. But I will stick to it, for now, so I can show you a problem:
The ball flies off the screen! Doh!
We need to add checks so if it hits the walls, it bounces back. This is the physics part.
Let's add that check now.
First, let's add a global variable for the x and y speed. Add these global vars to the top of the file:
ball_x_speed = 1
ball_y_speed = 1
The speed is 1 pixel for left/right and up/down. You can try increasing this number to make the ball go faster (and hence increase difficulty), but we will stick to 1 as it makes testing easy.
Let's use this variable in our function:
def update_ball():
    global ball_x_speed, ball_y_speed
    ball.x -= ball_x_speed
    ball.y -= ball_y_speed
The code is the same as before, just replaced the '1' with the variable. Let's add the checks now.
    if (ball.x >= WIDTH) or (ball.x <=0):
        ball_x_speed *= -1
If x goes above the max WIDTH we defined for the game (ie, goes beyond the right of screen), or below 0 (ie, goes beyond the left of the screen), then:
ball_x_speed *= -1What does this mean? Remember, we were moving by the ball speed on every update. To start with, we were moving up and left.
Here, we multiply the speed by -1. So if the ball was moving left, it will start moving right, and vice versa.
The effect is, as soon as the ball hits the boundary, it will change the direction.
We can do the same for the y axis:
    if (ball.y >= HEIGHT) or (ball.y <=0):
        ball_y_speed *= -1
Again, we check if the ball goes above or below the screen. The final function is:
def update_ball():
    global ball_x_speed, ball_y_speed
    ball.x -= ball_x_speed
    ball.y -= ball_y_speed
    if (ball.x >= WIDTH) or (ball.x <=0):
        ball_x_speed *= -1
    if (ball.y >= HEIGHT) or (ball.y <=0):
        ball_y_speed *= -1
Let's test the code:
Cool, so the ball bounces off the walls. But it still goes through the blocks. Let's fix that.
Implement collision detection in Pygame Zero
In the update function, we add this code to detect collision:
def update():
    update_ball()
    for bar in bars_list:
        if ball.colliderect(bar):
            bars_list.remove(bar)
Let's go over the code line by line.
We loop over the bars:
for bar in bars_list:And for each bar, we check if the ball collided with it:
if ball.colliderect(bar):The colliderect() is an inbuilt function that checks if two objects collided; the ball and the bar in this case.
If they did collide, we remove the bar from the list:
        if ball.colliderect(bar):
            bars_list.remove(bar)
Remember, the bars are drawn in the draw() function?
    for bar in bars_list:
        bar.draw()
If we remove the bar from the list, it will no longer be drawn, and hence vanish from the screen.
Run the code to check it works:
Ok, that's good, but the ball goes through the blocks like a knife thru butter. Which is not what we want. We want the ball to bounce when it hits the block.
Fortunately, there is a simple solution:
    for bar in bars_list:
        if ball.colliderect(bar):
            bars_list.remove(bar)
            ball_y_speed *= -1 # ==> this is the new code
The last line is the new code– we change the y direction of the ball– so if itwas going up, it will start going down.
There's one more thing I want to do. In the real Arkanoid, when the ball hit the blocks or the paddle, it could go either left or right, simulating real-world pinball-like "physics". Yeah, it wasn't perfect but it added some fun to the game as you didn't know where the ball would go.
I'll add code for that:
            # randomly move ball left or right on hit
            rand = random.randint(0,1)
            if rand:
                ball_move_x *= -1
When the ball hits a block, we will randomly, about 50% of the time, change direction. So if the ball was going right, it might start moving left.
We have one last thing to do.
Bounce the ball off our paddle
I will just share the code– you should be able to understand it now:
    if paddle.colliderect(ball):
        ball_y_speed *= -1
        # randomly move ball left or right on hit
        rand = random.randint(0,1)
        if rand:
            ball_x_speed *= -1
Again, we check if the ball collides with the paddle, and if so, change its y direction. And randomly, change the x direction.
You should be able to play the game now:
Next Steps
To check you understood the code, try to make these changes. Remember, you can always download the code from https://github.com/shantnu/arkanoid-clone.
1) There is a big bug in the code– if it falls below the paddle, the game continues. In effect, you can never lose!
You need to change the logic so that if the ball goes below the paddle, the game ends. We look at how to create a game over screen in the next example, for now just print it to the console.
2) Try adding scores– so each time you hit a block, you get 1 point. Again, just print the score to the console
For bonus points, have different scores for the different colored blocks. Hint: You will need to store the blocks in a different list, so you can check the score based on which color you hit.
Next time:
Now, we will use what we learnt to make the game Tank vs Zombies.
Click here to start reading the next post.
Keep watching this space, and if you want to be notified when the next post is out, please sign up below!