Zombies vs Tanks: A Simple game in Python and Pygame Zero

This post is a follow on from my last post which introduced gaming, make sure you've read it.
The source code is here: https://github.com/shantnu/zombie_tanks
So this time we'll build a slightly (but just slightly!) more complicated game:
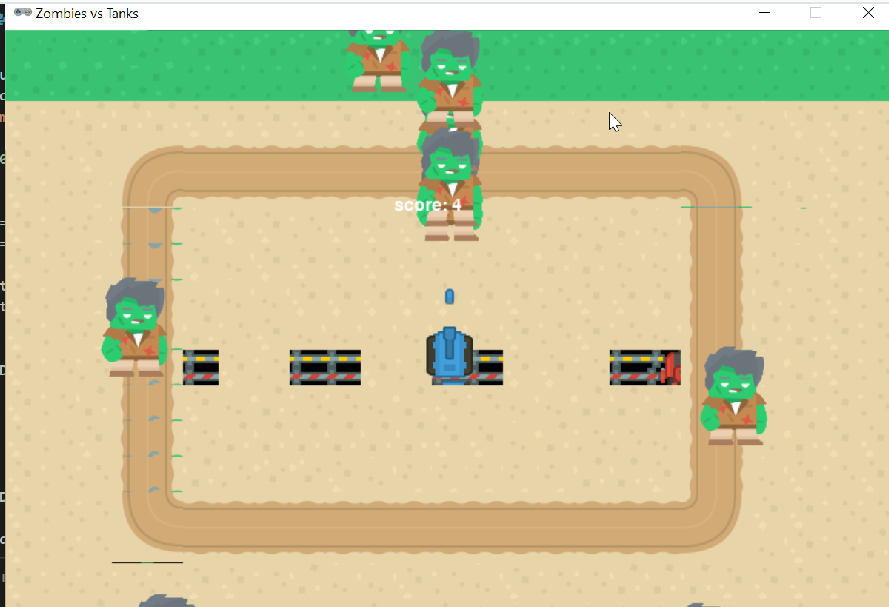
The new things this time are:
- The tank will change direction when you press arrow keys
- The tank shoots a bullet, which was way harder than I imagined
- Play a sound when a bullet is fired
- Zombies have some "artificial" "intelligence", ie, they will try to move towards the player
- We have a score and a game over screen
Let's get started! Since this builds on the previous blog (Arkanoid clone), I will not explain the code that I've explained in that post, like how the arrow keys work.
The skeleton code
import pgzrun
import random
TITLE = "Zombies vs Tanks"
WIDTH = 800
HEIGHT = 640

def draw():
    screen.blit("tank.png", (0,0))
    pass

def update():
    pass

pgzrun.go()
This is some basic code that will just open the screen and display the background image.
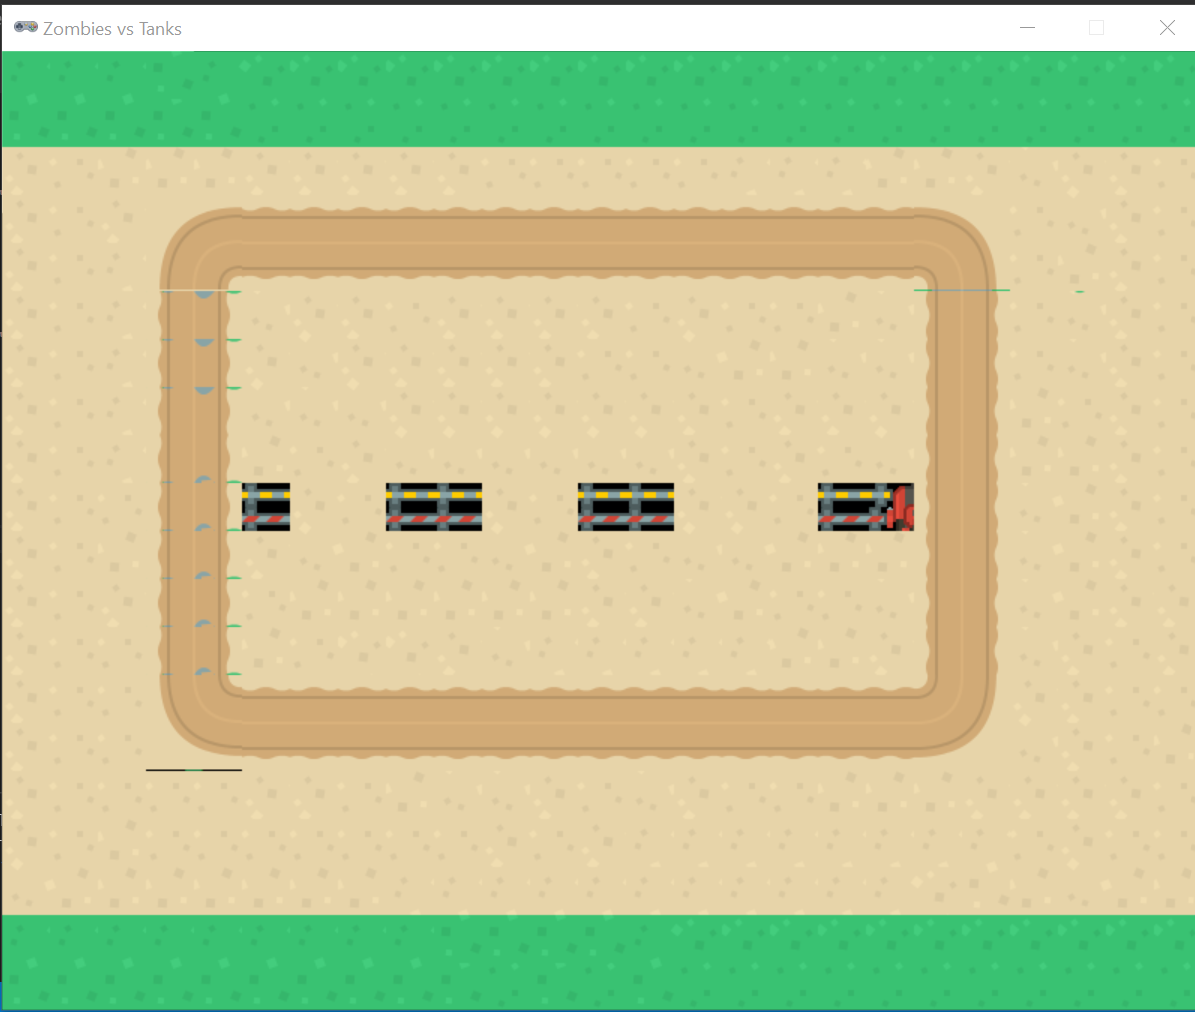
Let's display a tank:
blue_tank = Actor("tank_blue")
blue_tank.x=WIDTH/2
blue_tank.y=HEIGHT/2

def draw():
    screen.blit("tank.png", (0,0))
    blue_tank.draw()
And add our keyboard code:
def update():
    if keyboard.left:
        blue_tank.x = blue_tank.x - 5
    if keyboard.right:
        blue_tank.x = blue_tank.x + 5
    if keyboard.up:
        blue_tank.y = blue_tank.y - 5
    if keyboard.down:
        blue_tank.y = blue_tank.y + 5
Try it:
The tank always faces down, no matter which direction we move. Let's fix that.
At the top, add these angles:
UP = 180
DOWN = 0
LEFT = 270
RIGHT = 90
Since the tank is already facing down, the angle for down is 0.
Similarly, to move the tank up, we need to rotate the image by 180 degrees.
These values will depend on your original image, so you'll need to play with them.
Let's update the code so it uses these angles:
def update():
    if keyboard.left:
        blue_tank.x = blue_tank.x - 5
        blue_tank.angle = LEFT
    if keyboard.right:
        blue_tank.x = blue_tank.x + 5
        blue_tank.angle = RIGHT
    if keyboard.up:
        blue_tank.y = blue_tank.y - 5
        blue_tank.angle = UP
    if keyboard.down:
        blue_tank.y = blue_tank.y + 5
        blue_tank.angle = DOWN
So in addition to moving the tank, we change its angle based on what key we pressed. Try it:
Yup, that works.
Shooting the bullet
This turned out to be a little hard; mainly because we want the bullet to continue flying in the background while the tanks (and later, our zombies) are moving.
So it meant we have to handle the bullet code in the background. Luckily, there is a way to do that. But before, let's define the bullet graphic:
bullet = Actor("bulletblue")
bullet_fired = True
We have a variable called bullet_fired. I'll go over why we need it later.
We will shoot a bullet when the space is pressed. The code for it is:
if keyboard.space:
        if not bullet_fired:
            bullet_fired = True
            if blue_tank.angle == LEFT:
                bullet.x = blue_tank.x-30
                bullet.y = blue_tank.y

            elif blue_tank.angle == RIGHT:
                bullet.x = blue_tank.x+30
                bullet.y = blue_tank.y

            elif blue_tank.angle == DOWN:
                bullet.x = blue_tank.x
                bullet.y = blue_tank.y + 30

            elif blue_tank.angle == UP:
                bullet.x = blue_tank.x
                bullet.y = blue_tank.y - 30
That might seem complex, so I'll go over a small part of it:
            if blue_tank.angle == LEFT:
                bullet.x = blue_tank.x-30
                bullet.y = blue_tank.y
What I'm saying is: If the tank is facing left, the bullet should be created slightly to the left of it.
If I don't use this line: bullet.x = blue_tank.x-30, the bullet will be drawn in the middle of the tank. This way, it looks like the tank fired the bullet. If we look at the code again:
if keyboard.space:
        if not bullet_fired:
            bullet_fired = True
            if blue_tank.angle == LEFT:
                bullet.x = blue_tank.x-30
                bullet.y = blue_tank.y

            elif blue_tank.angle == RIGHT:
                bullet.x = blue_tank.x+30
                bullet.y = blue_tank.y

            elif blue_tank.angle == DOWN:
                bullet.x = blue_tank.x
                bullet.y = blue_tank.y + 30

            elif blue_tank.angle == UP:
                bullet.x = blue_tank.x
                bullet.y = blue_tank.y - 30
All we do is check the direction of the tank and draw the bullet in front of it. Not strictly needed, just makes it look pretty :)
One more thing– we will play a sound when the bullet is fired.
if keyboard.space:
        if not bullet_fired:
            bullet_fired = True
            sounds.laserretro_004.play() ==> new code
where laserretro_004 is the name of our sound file in the sounds folder.
Test it:

The bullet appears in front of the tank but doesn't do much else.
Firing the bullet in the background
As we discussed, the bullet fire task must happen in the background, as we want the player (and later zombies) to continue moving.
There is a function in Pygame Zero to scehdule tasks to run in the background.
In the draw function:
clock.schedule(shoot_bullet, 5)The clock.schedule() schedules a task to run in the background. The first value is the function (which we will write). The 2nd is the time in seconds.
So every 5 seconds, Pygame zero will call our function shoot_bullet. Let's write that function now.
The first thing we do is check the bullet_fired variable. We only want to run this function if the user pressed the spacebar, ie, shot a bullet. Because the function runs in the background, it will do nothing until the key is pressed.
def shoot_bullet():
     if bullet_fired:
        if blue_tank.angle  == LEFT:
            bullet.x -= BULLET_SPEED
        elif blue_tank.angle  == RIGHT:
            bullet.x += BULLET_SPEED
        elif blue_tank.angle  == DOWN:
            bullet.y += BULLET_SPEED
        elif blue_tank.angle  == UP:
            bullet.y -= BULLET_SPEED
And after that, based on what direction the tank is facing, we will change the location of the bullet. For example:
        if blue_tank.angle  == LEFT:
            bullet.x -= BULLET_SPEED
so if the tank is facing left, we will change the x axis of the bullet by -10 every time the function is called. This will make it look like the bullet is flying.
We need one more thing– check the bullet has gone off the screen:
 if bullet.x >= WIDTH or bullet.x <=0 or \
    bullet.y >=HEIGHT or bullet.y <=0:
            bullet_fired = False
So if the bullet goes beyond the screen, we set bullet_fired to False. That means the function won't be run until the user presses space again.
Let's test it.
Excellent.
Add our Zombies
First, some basic setup:
zombie_list = []
ZOMBIE_SPEED = 1
score = 0
We create a list to store our zombies and set the zombie speed. Also, create a variable to store the score.
Then add these to the draw() :
    clock.schedule(create_zombies, 5)
    move_zombie()
    screen.draw.text(f"score: {score} ",  (350, 150))
We schedule a function to create zombies every 5 seconds, another to move them, and finally, we display the score. Let's go over them one by one.
Create zombies
def create_zombies():
    if len(zombie_list ) < 10 :
        loc_rand = random.randint(0,3)
The 1st thing we do is check the length of zombie_list, as we only want 10 zombies at a time (you could change this to any number to increase/decrease the challenge).
The next thing we do is, get a random number from 0 to 3. What we'll do is:
- If the random number is 0, the zombie is generated at top of the screen.
- If it is 1, the zombie appears on the right of the screen
- And same for 2 and 3 – down and left
This will ensure the zombies appear randomly all over the screen, and not just at one point. The complete code is:
def create_zombies():
    if len(zombie_list ) < 10 :
        loc_rand = random.randint(0,3)
        if loc_rand == 0:
            y = random.randint(40, HEIGHT-40)
            z = Actor("zombie_stand.png")
            z.x = 1
            z.y = y
            zombie_list.append(z)
        elif loc_rand == 1:
            y = random.randint(40, HEIGHT-40)
            z = Actor("zombie_stand.png")
            z.x = WIDTH-1
            z.y = y
            zombie_list.append(z)
        elif loc_rand == 2:
            x = random.randint(40, WIDTH-40)
            z = Actor("zombie_stand.png")
            z.y = 1
            z.x = x
            zombie_list.append(z)
        elif loc_rand == 3:
            x = random.randint(40, WIDTH-40)
            z = Actor("zombie_stand.png")
            z.y = HEIGHT - 1
            z.x = x
            zombie_list.append(z)
So I create a zombie randomly on one of the four corners of the screen. If we look at one part of the code above:
        if loc_rand == 0:
            y = random.randint(40, HEIGHT-40)
            z = Actor("zombie_stand.png")
            z.x = 1
            z.y = y
            zombie_list.append(z)
We're saying: Choose the y position of the zombie randomly at a point from 40 pixels to (HEIGHT-40) pixels. The x point is just set to 1 – that could be random too.
We then append the zombie we just created o our list.
And we do the same for all other directions.
Moving our zombies
First our "artificial" "intelligene". Yes, it's quite stupid, but they are zombies :D
The zombies will try to move towards the tank– since we know the location of the tank, we will change the position of our zombies so they try to track teh tank.
def move_zombie():
    for zomb in zombie_list:
        if zomb.x < blue_tank.x:
            zomb.x += ZOMBIE_SPEED
        elif zomb.x > blue_tank.x:
            zomb.x -= ZOMBIE_SPEED
        elif zomb.y < blue_tank.y:
            zomb.y += ZOMBIE_SPEED
        elif zomb.y > blue_tank.y:
            zomb.y -= ZOMBIE_SPEED
Taking a part of the code above:
    if zomb.x < blue_tank.x:
            zomb.x += ZOMBIE_SPEED
So if the zombie's x is to the left of our tank, we will move it right (by increasing its x). And vice versa.
And the same for up/down– we check the tank's y, and update our zombie.
Next, we need to check if the zombie got the tank:
for zomb in zombie_list:
            zomb.draw()
We loop over the zombies, drawing them.
            if zomb.colliderect(bullet):
                zombie_list.remove(zomb)
                score += 1
If a zombie collides with a bullet, we delete the zombie from the list and increase the score by 1.
if zomb.colliderect(blue_tank):
                game_over = True
But if the zombie collides with the tank, the game is over.
Let's implement the game over screen now:
Game Over
Update the draw function, so it only calls the draw code is there is no game over:
def draw():
    if not game_over:
        screen.blit("tank.png", (0,0))
        blue_tank.draw()
        clock.schedule(shoot_bullet, 5)
        clock.schedule(create_zombies, 5)
        bullet.draw()
        move_zombie()
        screen.draw.text(f"score: {score} ",  (350, 150))
And we need to set the game over condition:
    else:
        screen.fill("blue")
        screen.draw.text(f"GAME OVER, Your score: {score} ",  (350, 150))
If the game is over, we fill the screen with a blue colour and display game over.
Lot's of code, let's test it now:
And that's it!
Improvements
If you want a challenge, you can try these improvments. Remember the code is available here(if you want to build on mine): https://github.com/shantnu/zombie_tanks
- There is a bug– fire a bullet and move the tank. The bullet moves with the tank! See if you can fix it
- Have an opening screen to get difficulty level– you can increase the number and speed of zombies
- To make the AI more fun, add a few zombies that move randomly, rather than always following the player
- Make it possible to restart the game
The next game will be out in a few weeks. Sign up below if you want to know when.